> ## Documentation Index
> Fetch the complete documentation index at: https://docs.tight.com/llms.txt
> Use this file to discover all available pages before exploring further.
# Amazon S3
> Push accounting and analytics data directly to your Amazon S3 buckets
## Overview
Tight integrates directly with Amazon S3 to periodically upload raw accounting data to your own S3 buckets. By pushing data into your S3 infrastructure, Tight eliminates the need for your data team to build direct connections to the Tight API, allowing your team to work in the data stack they're already using.
Data is exported in [Parquet file](https://parquet.apache.org/) format on daily, weekly, or monthly intervals, including bank linkage data, invoices, lifecycle events, and transactions. Learn more about available data types and use cases in the [Data Lakes guide](/guides/business-owners/data-lakes).
## Create an Amazon S3 Bucket
If you haven't done so already, create an [AWS account](https://aws.amazon.com/) and [set up an S3 bucket](https://docs.aws.amazon.com/AmazonS3/latest/userguide/create-bucket-overview.html) where Tight will upload your data. You can name this bucket anything you'd like; "tight-api-data" is used for the examples shown below.
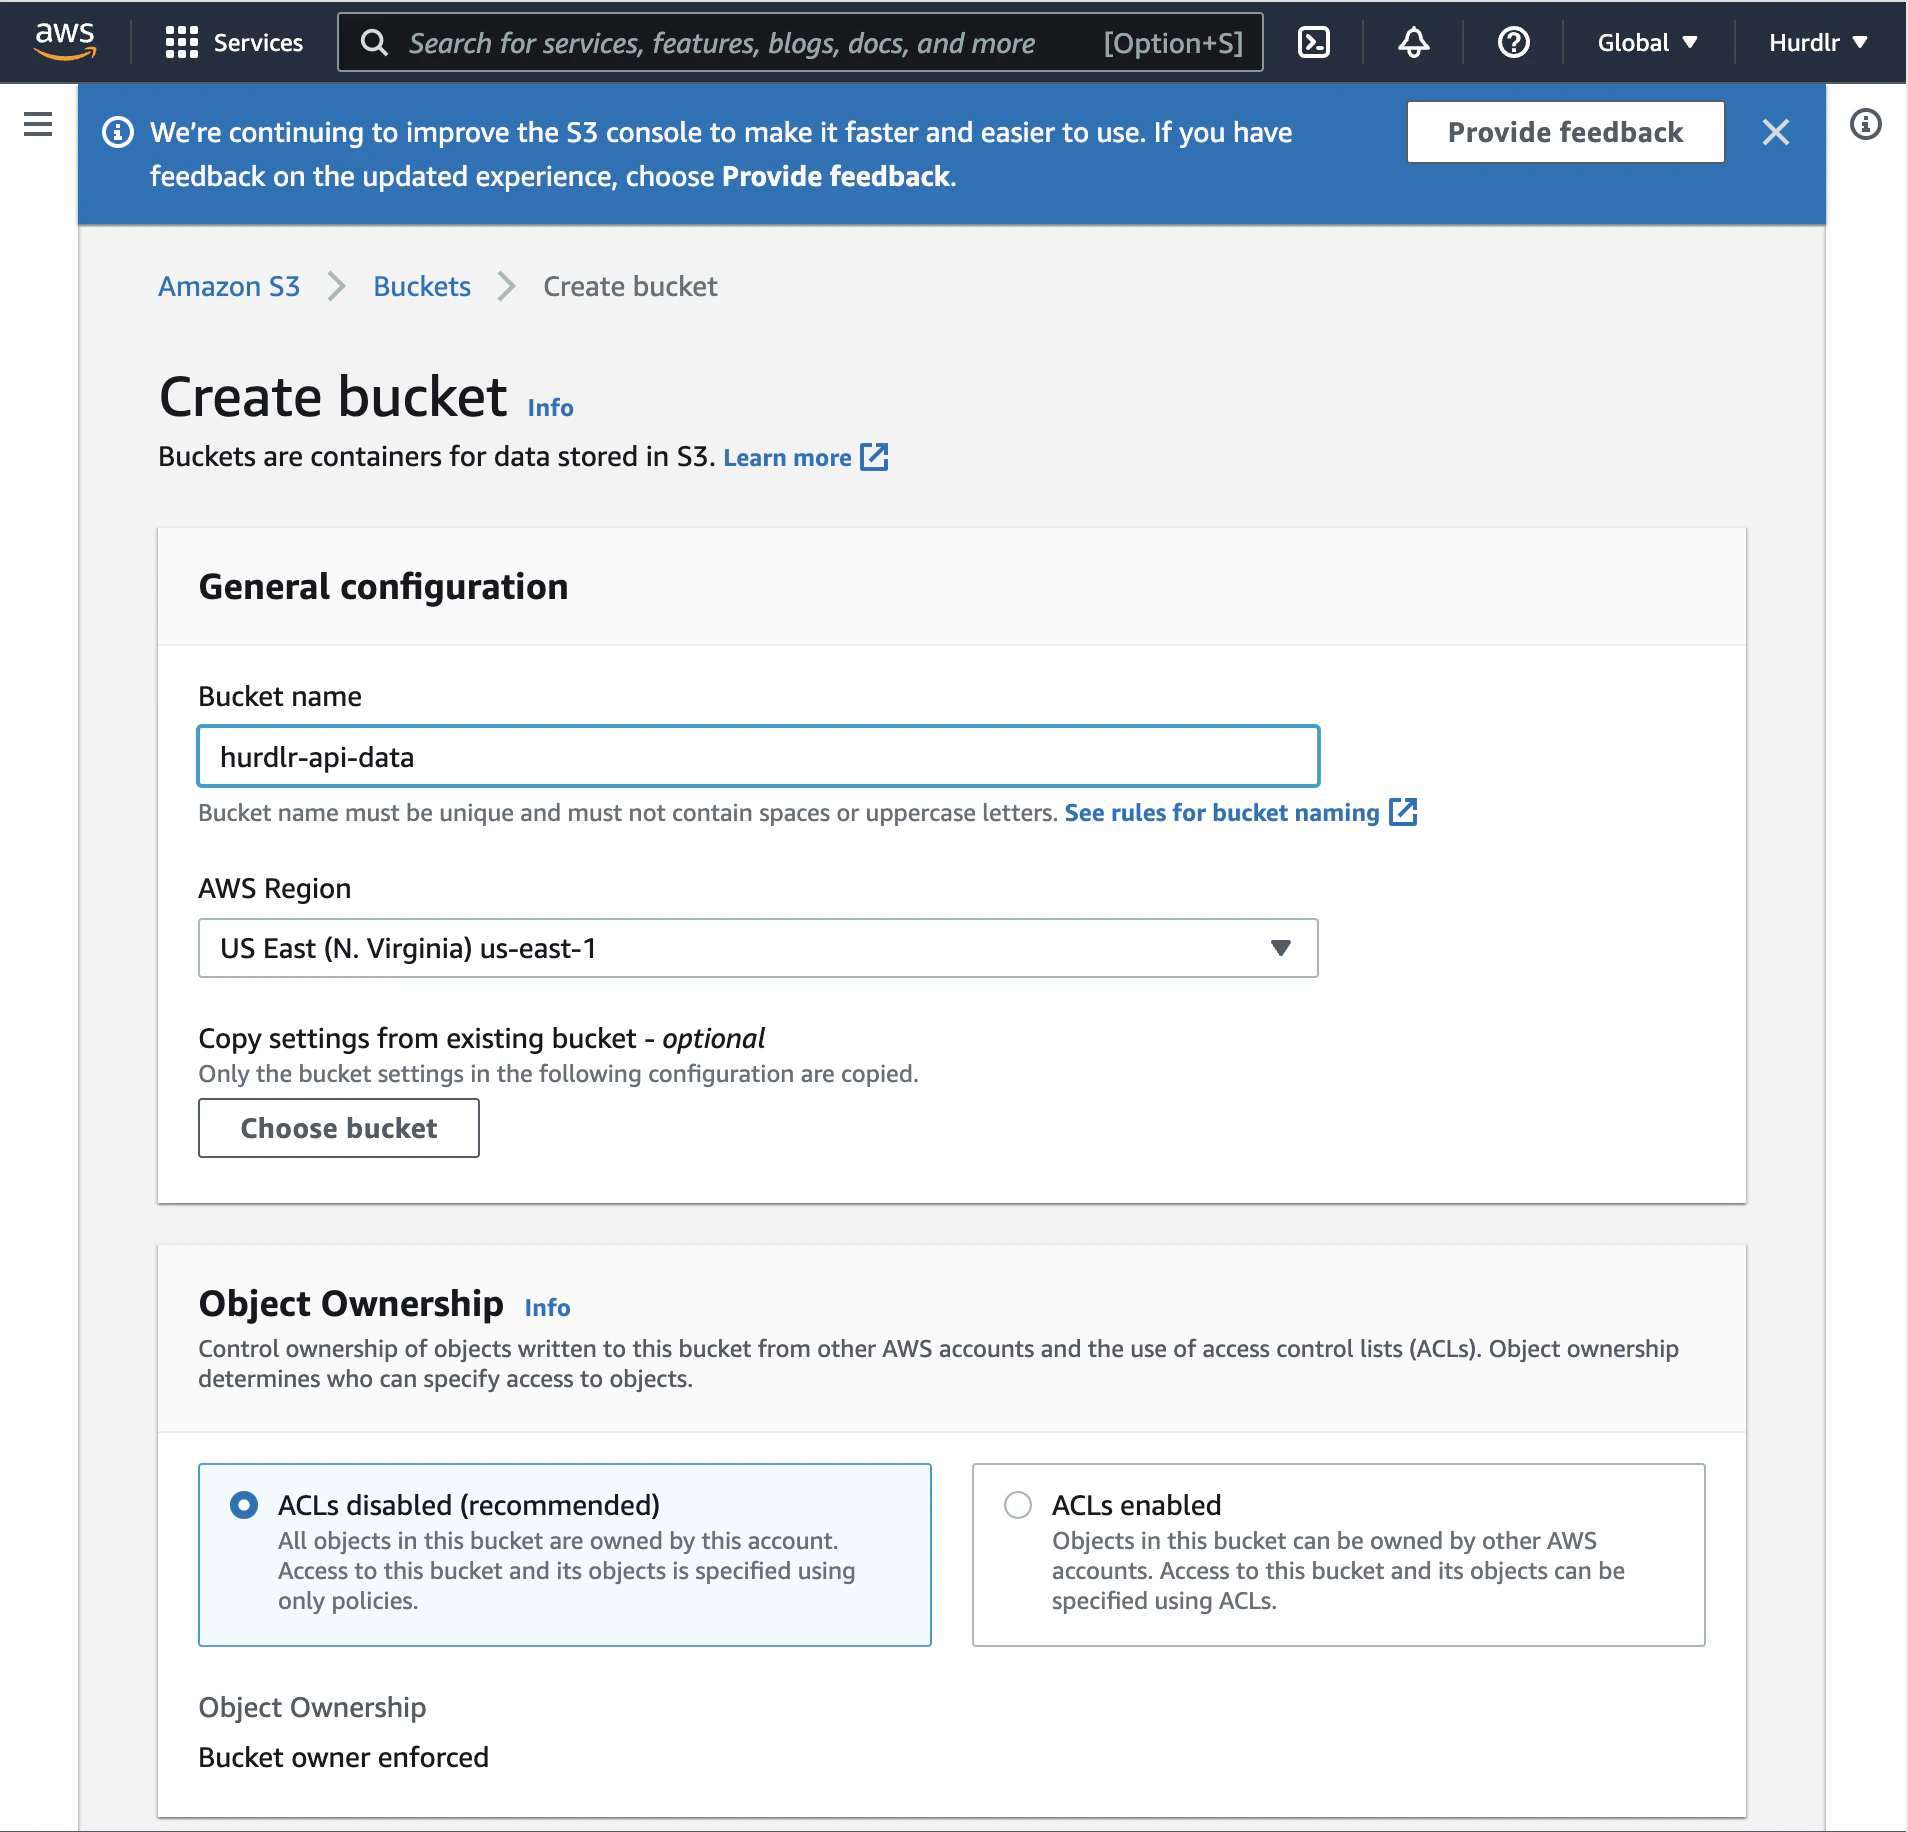 Make note of the AWS Region that you selected, as you'll need to share this with Tight.
## Configure IAM Policy for Programmatic Access
Next, [create an IAM policy](https://aws.amazon.com/blogs/security/writing-iam-policies-how-to-grant-access-to-an-amazon-s3-bucket/) to grant programmatic access to your S3 bucket.
In the AWS IAM Console, navigate to Policies and click "Create policy". Select the JSON option and paste the following policy:
```json theme={null}
{
"Version": "2012-10-17",
"Statement": [
{
"Effect": "Allow",
"Action": [
"s3:ListBucket"
],
"Resource": [
"arn:aws:s3:::tight-api-data"
]
},
{
"Effect": "Allow",
"Action": [
"s3:PutObject",
"s3:GetObject",
"s3:DeleteObject"
],
"Resource": [
"arn:aws:s3:::tight-api-data/*"
]
}
]
}
```
Replace `tight-api-data` with your actual bucket name in both Resource ARNs.
Make note of the AWS Region that you selected, as you'll need to share this with Tight.
## Configure IAM Policy for Programmatic Access
Next, [create an IAM policy](https://aws.amazon.com/blogs/security/writing-iam-policies-how-to-grant-access-to-an-amazon-s3-bucket/) to grant programmatic access to your S3 bucket.
In the AWS IAM Console, navigate to Policies and click "Create policy". Select the JSON option and paste the following policy:
```json theme={null}
{
"Version": "2012-10-17",
"Statement": [
{
"Effect": "Allow",
"Action": [
"s3:ListBucket"
],
"Resource": [
"arn:aws:s3:::tight-api-data"
]
},
{
"Effect": "Allow",
"Action": [
"s3:PutObject",
"s3:GetObject",
"s3:DeleteObject"
],
"Resource": [
"arn:aws:s3:::tight-api-data/*"
]
}
]
}
```
Replace `tight-api-data` with your actual bucket name in both Resource ARNs.
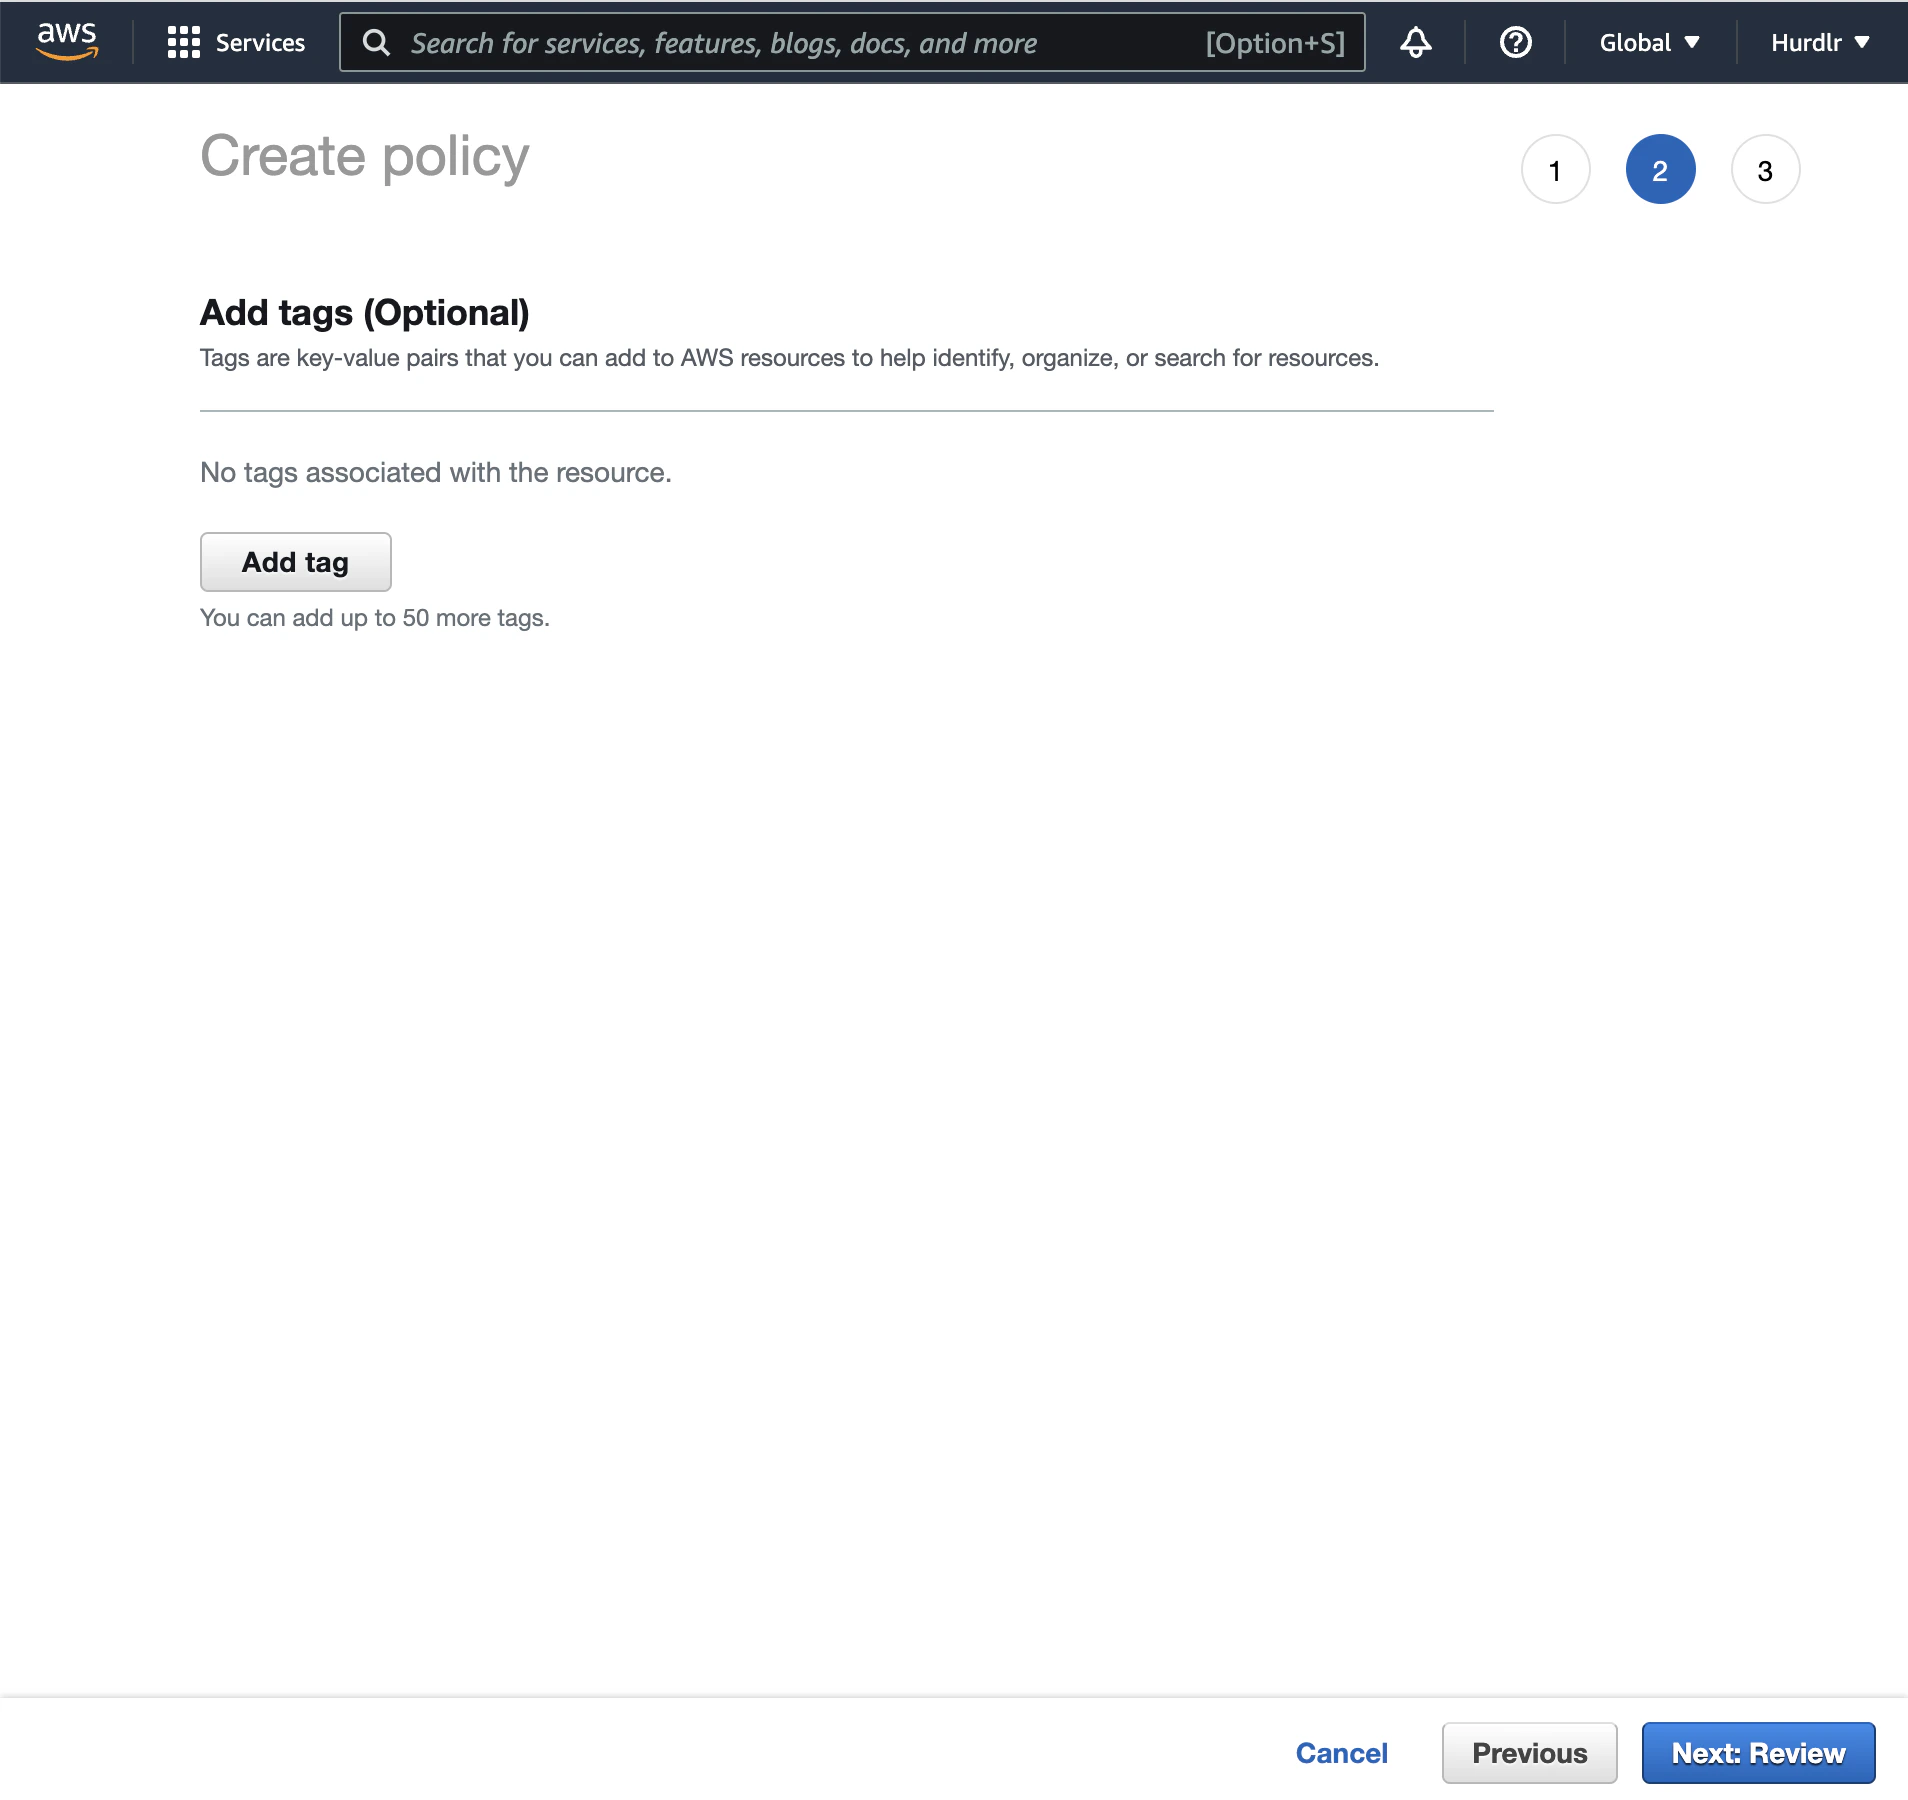
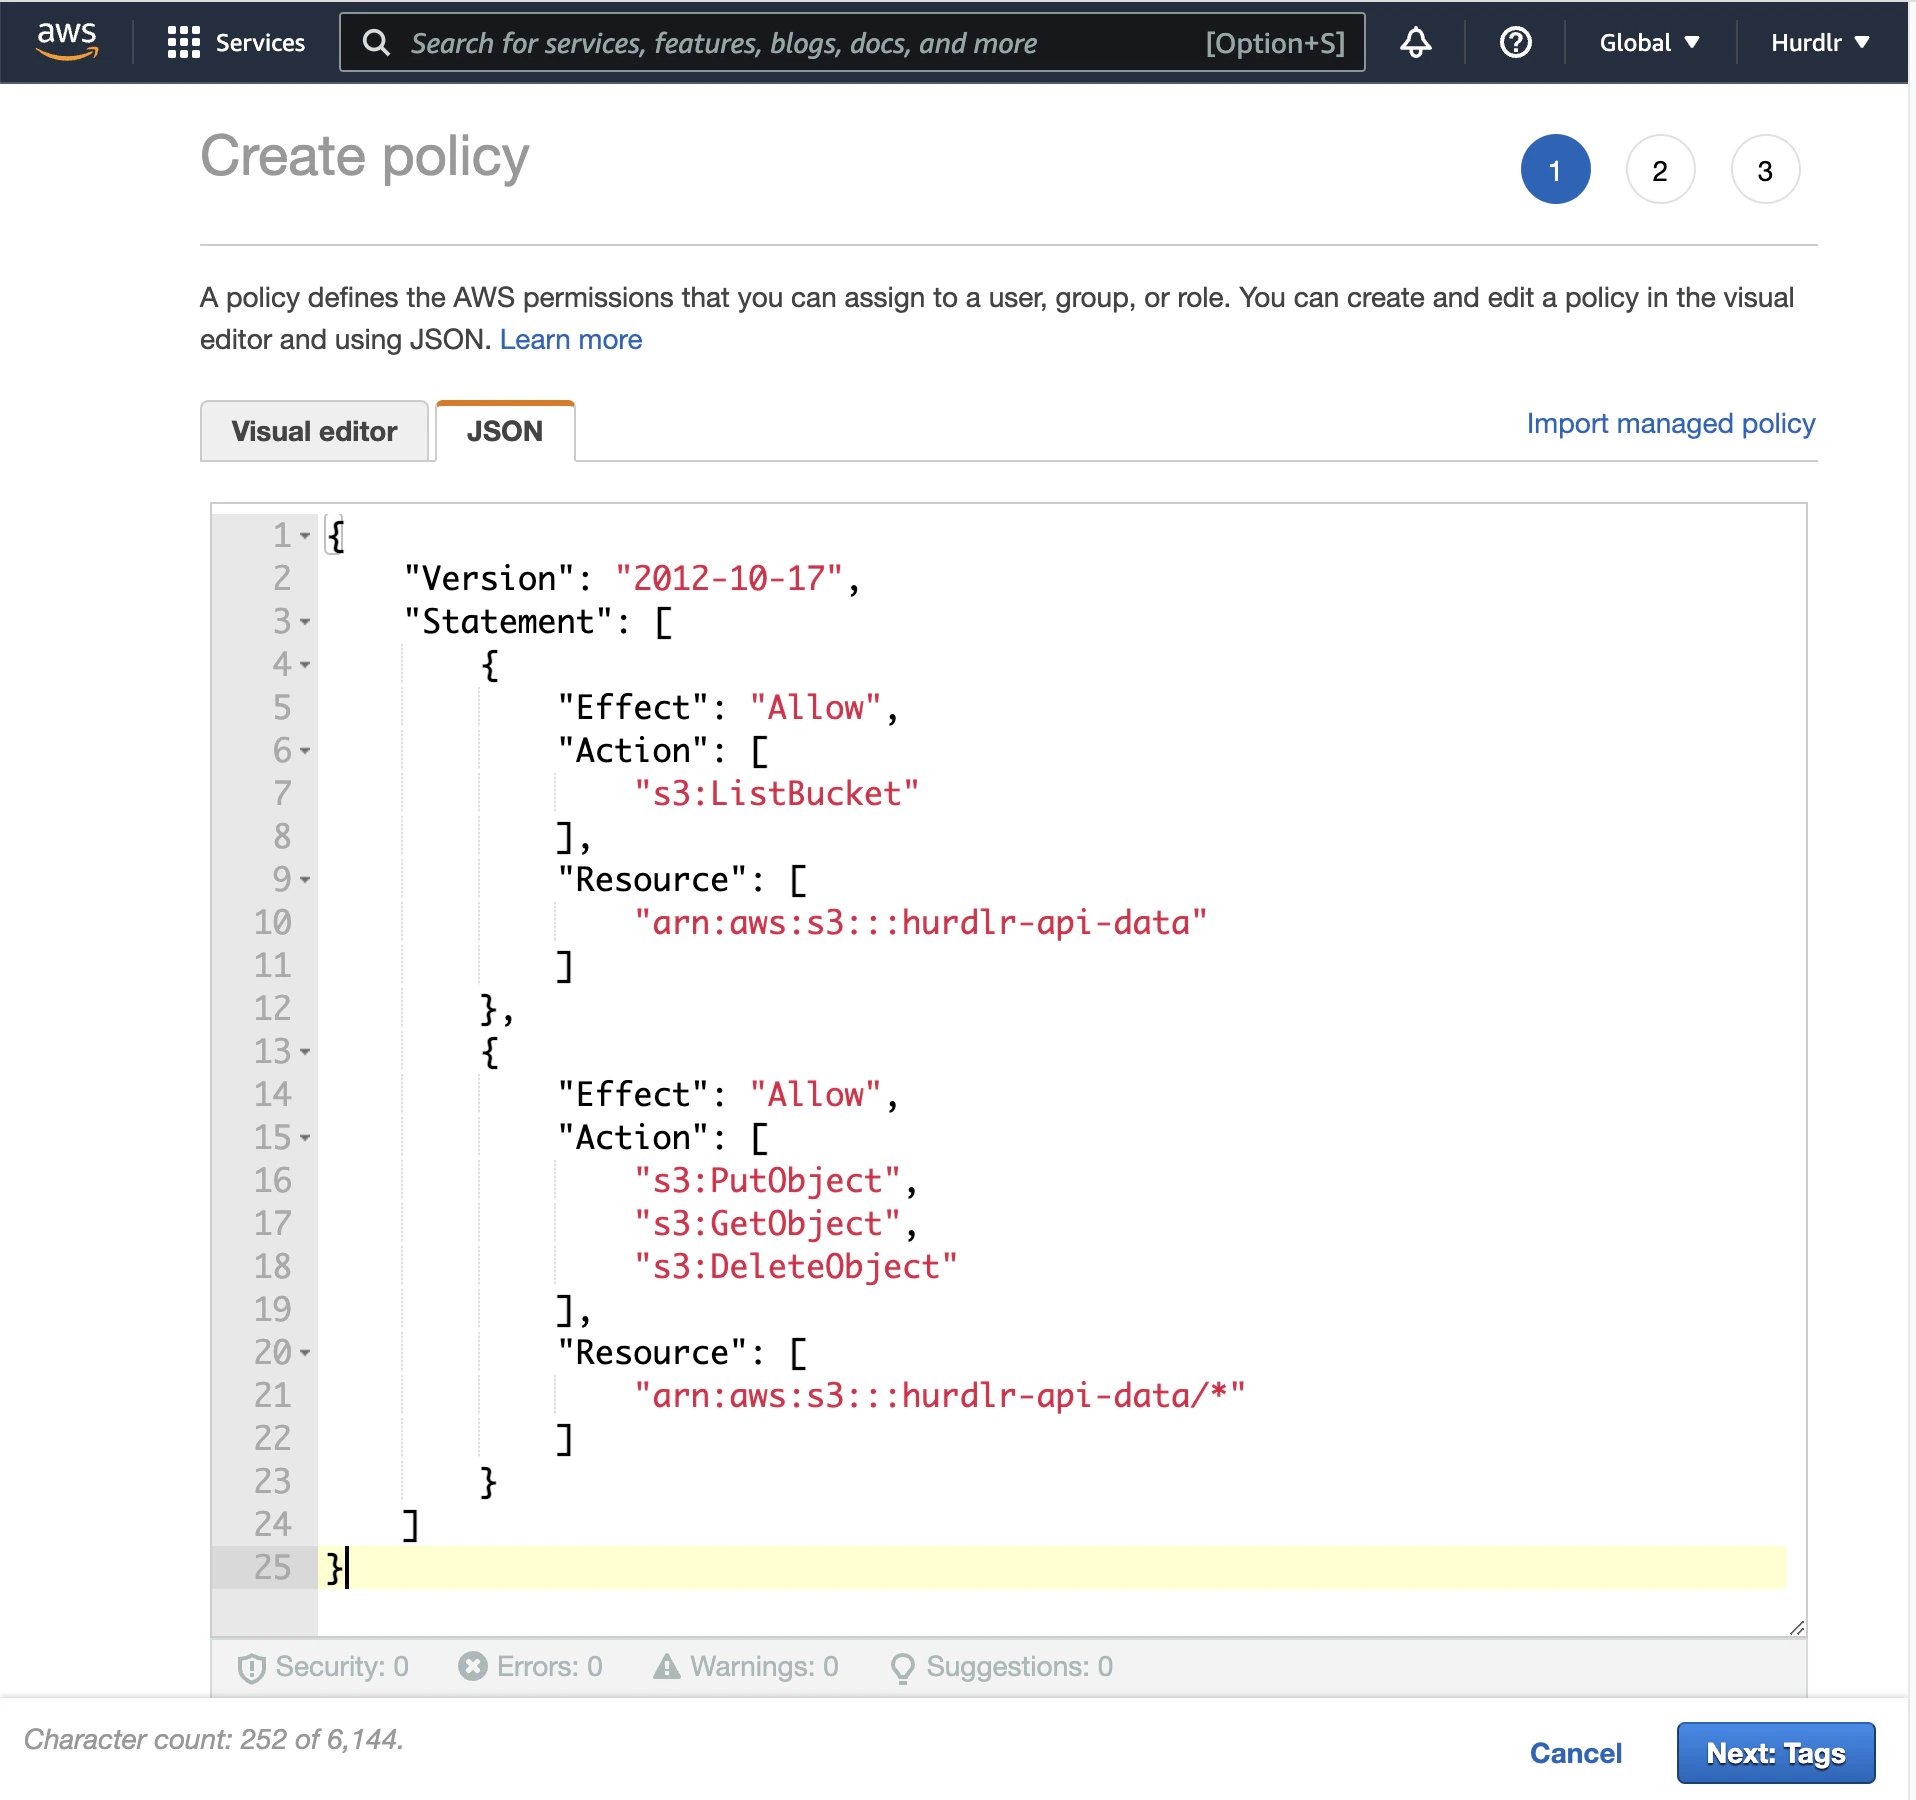 Click "Next: Tags" (or "Next: Review" depending on your AWS console version):
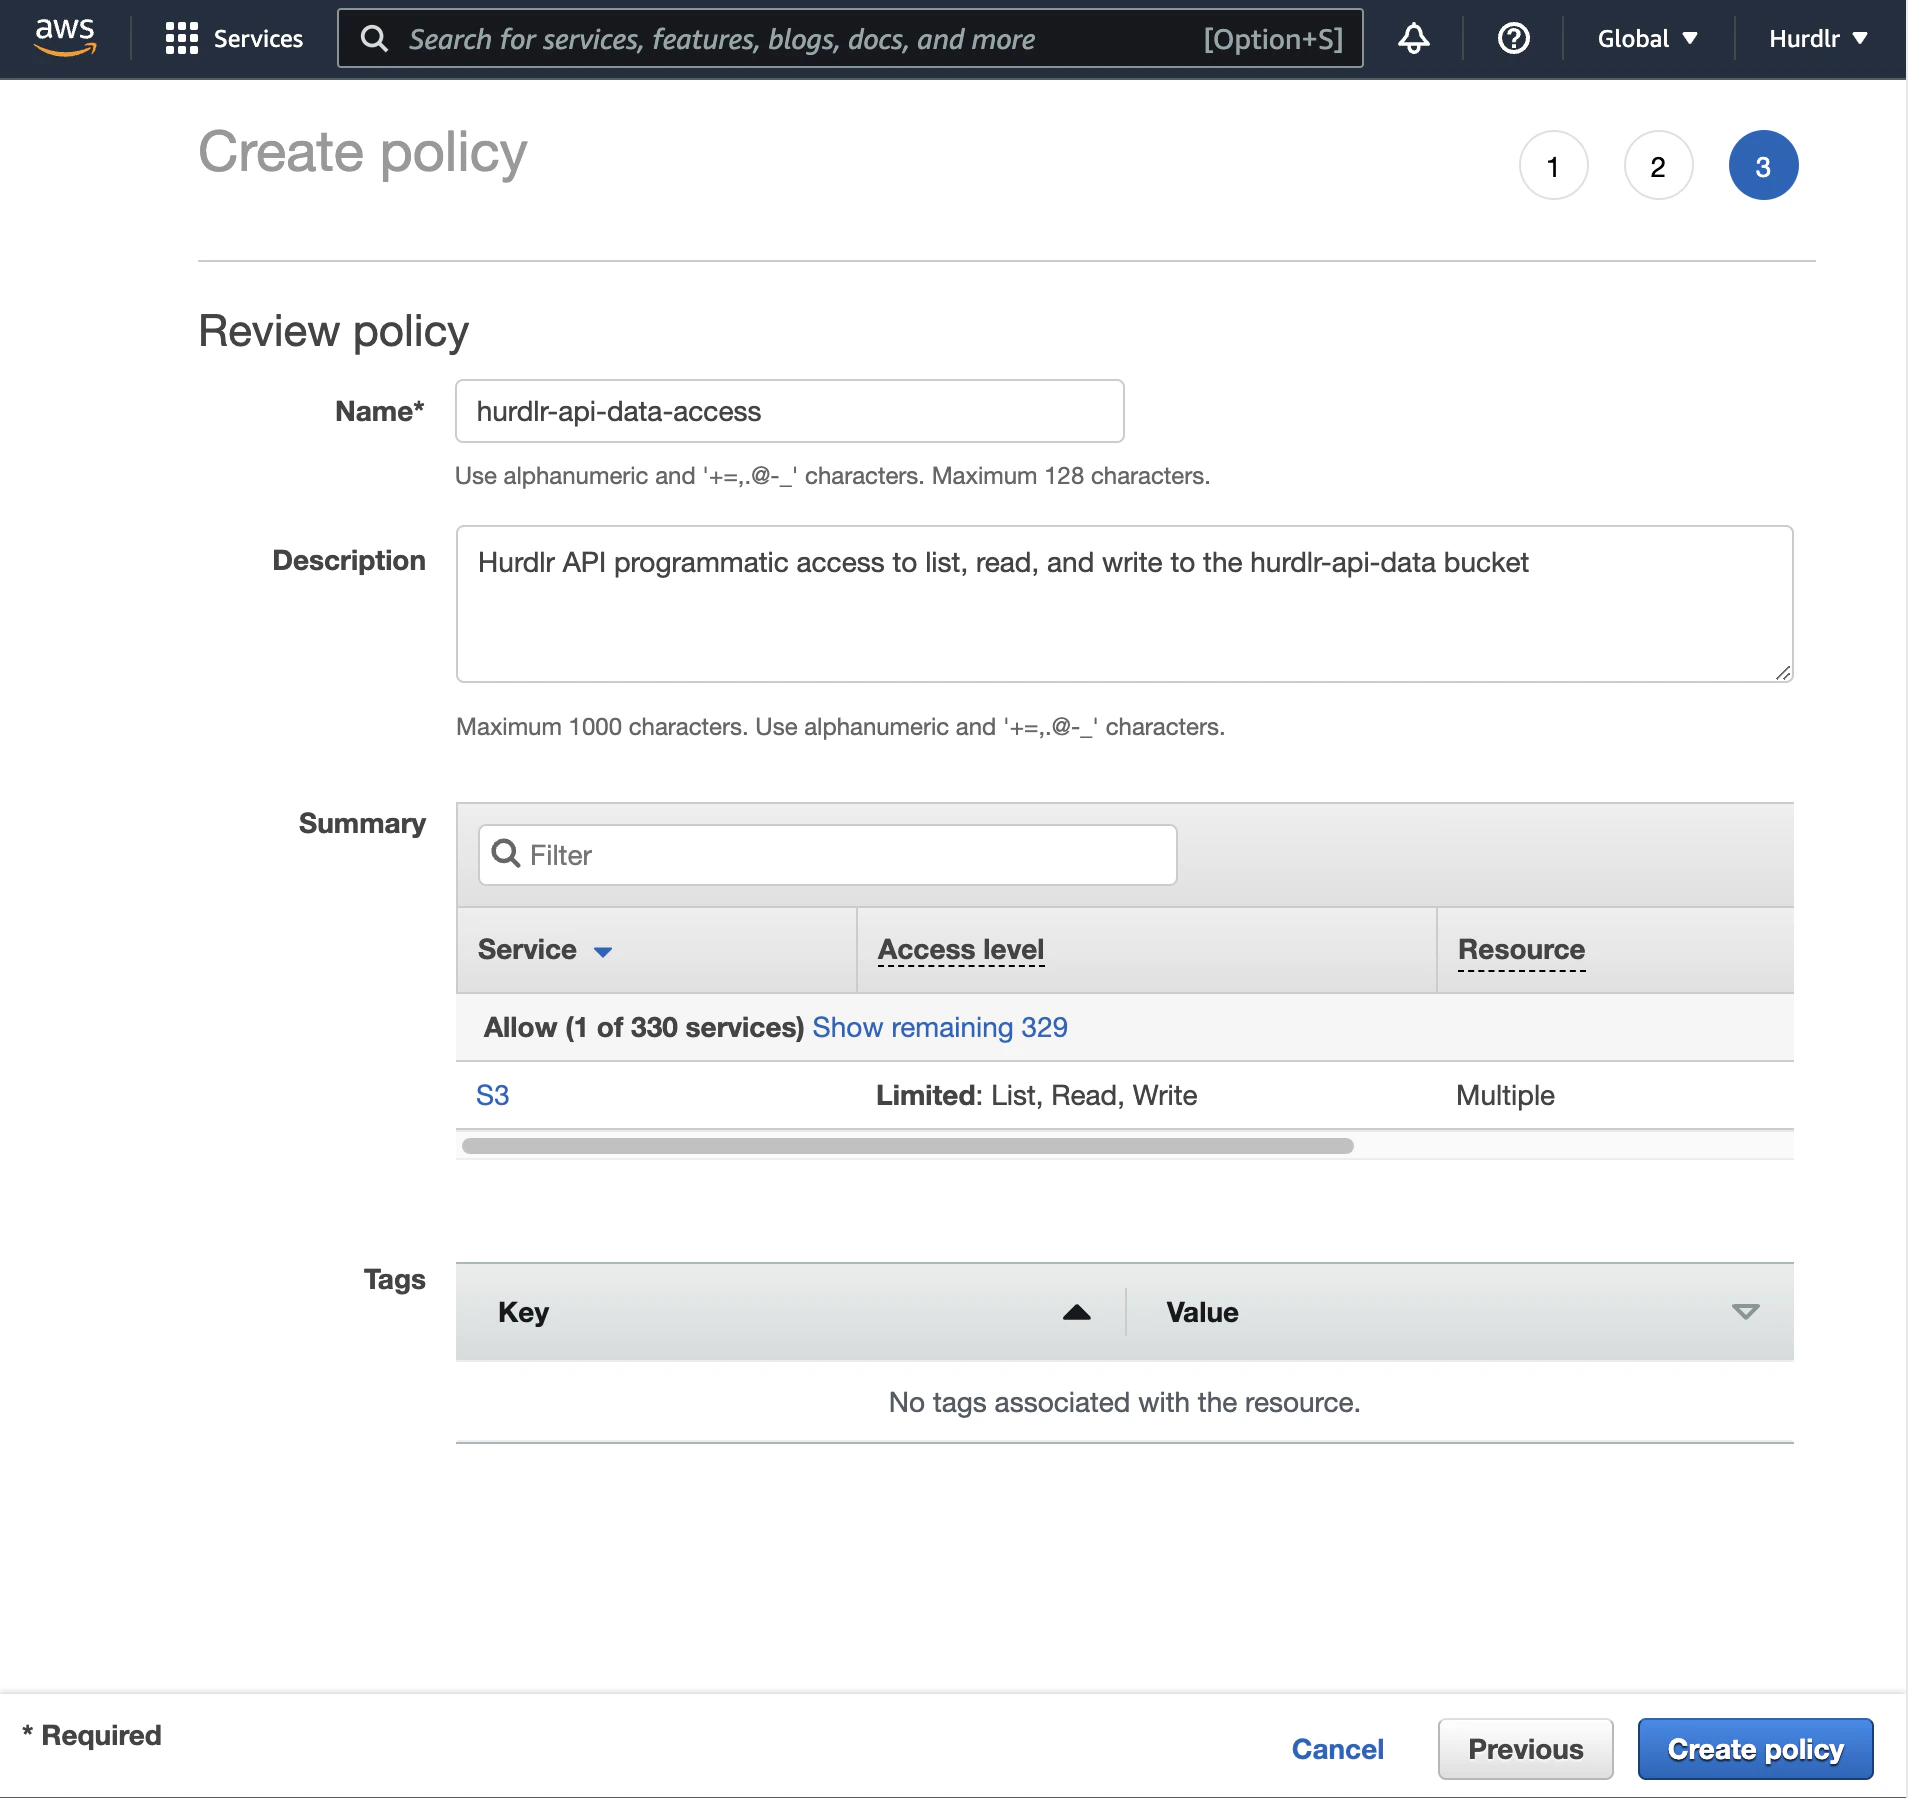
 On the review step, provide a descriptive name like "tight-api-data-access" and click "Create policy":
 ## Create IAM User
[Create an IAM user](https://docs.aws.amazon.com/IAM/latest/UserGuide/id_users_create.html#id_users_create_console) that will be used by Tight to access your S3 bucket.
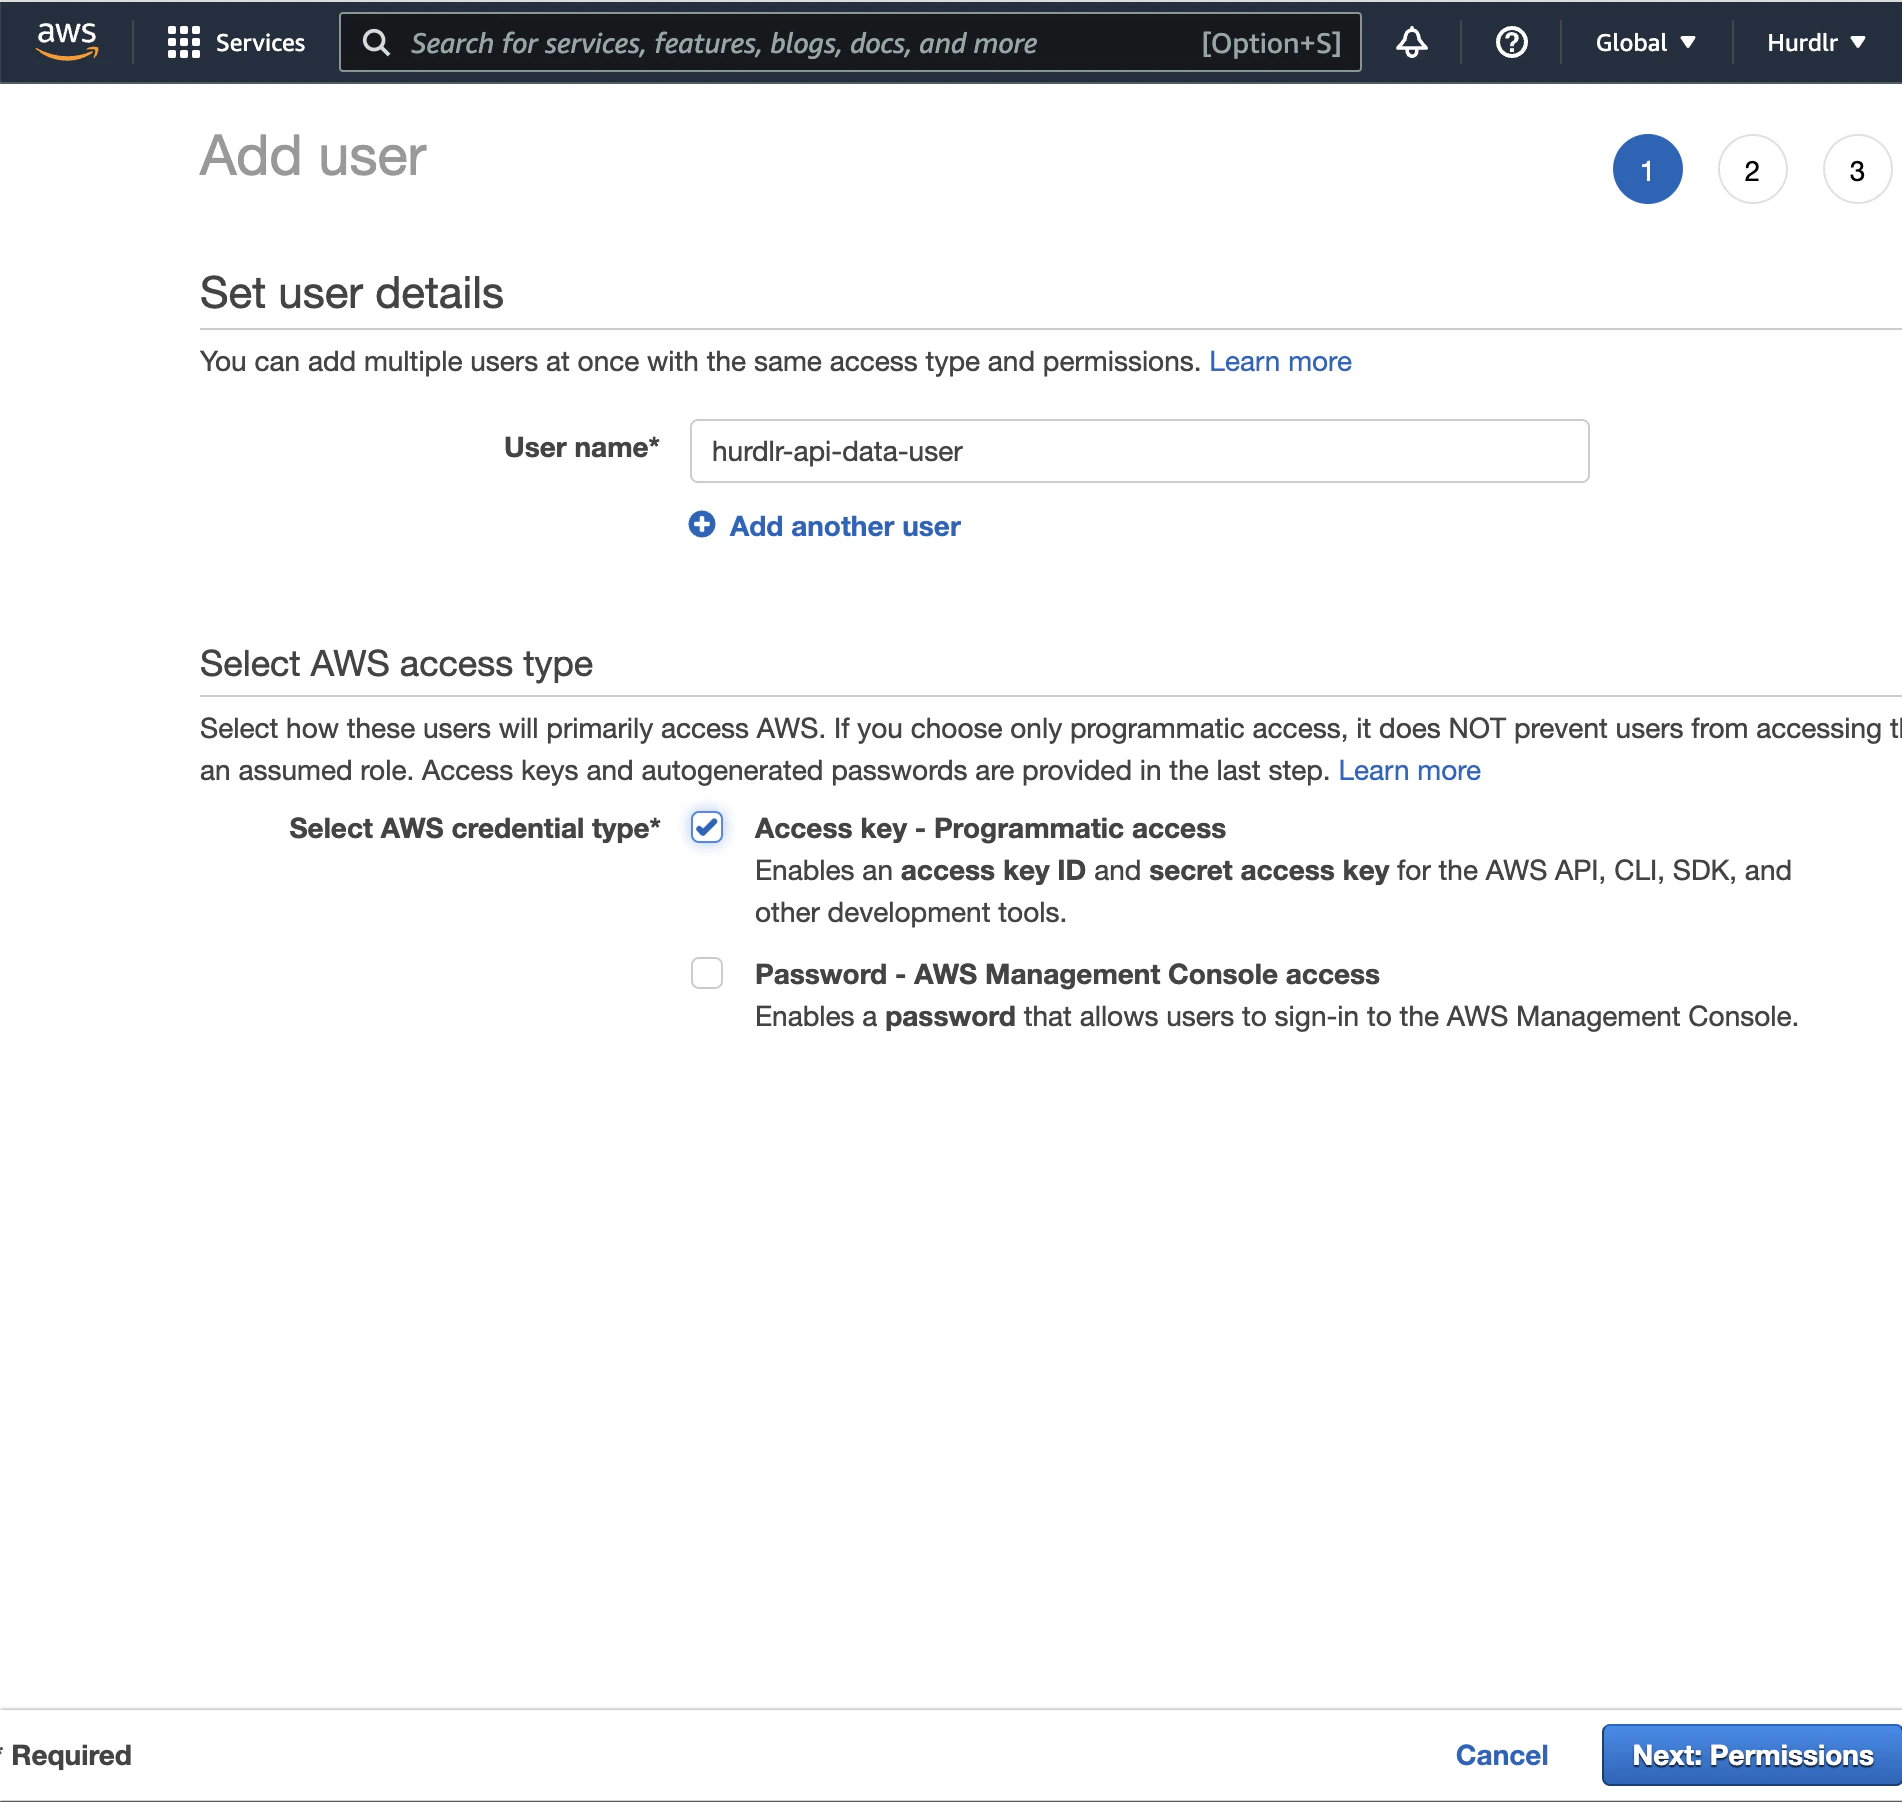
In the AWS IAM Console, navigate to Users and click "Add user". Provide a descriptive username like "tight-api-data-user":
## Create IAM User
[Create an IAM user](https://docs.aws.amazon.com/IAM/latest/UserGuide/id_users_create.html#id_users_create_console) that will be used by Tight to access your S3 bucket.
In the AWS IAM Console, navigate to Users and click "Add user". Provide a descriptive username like "tight-api-data-user":
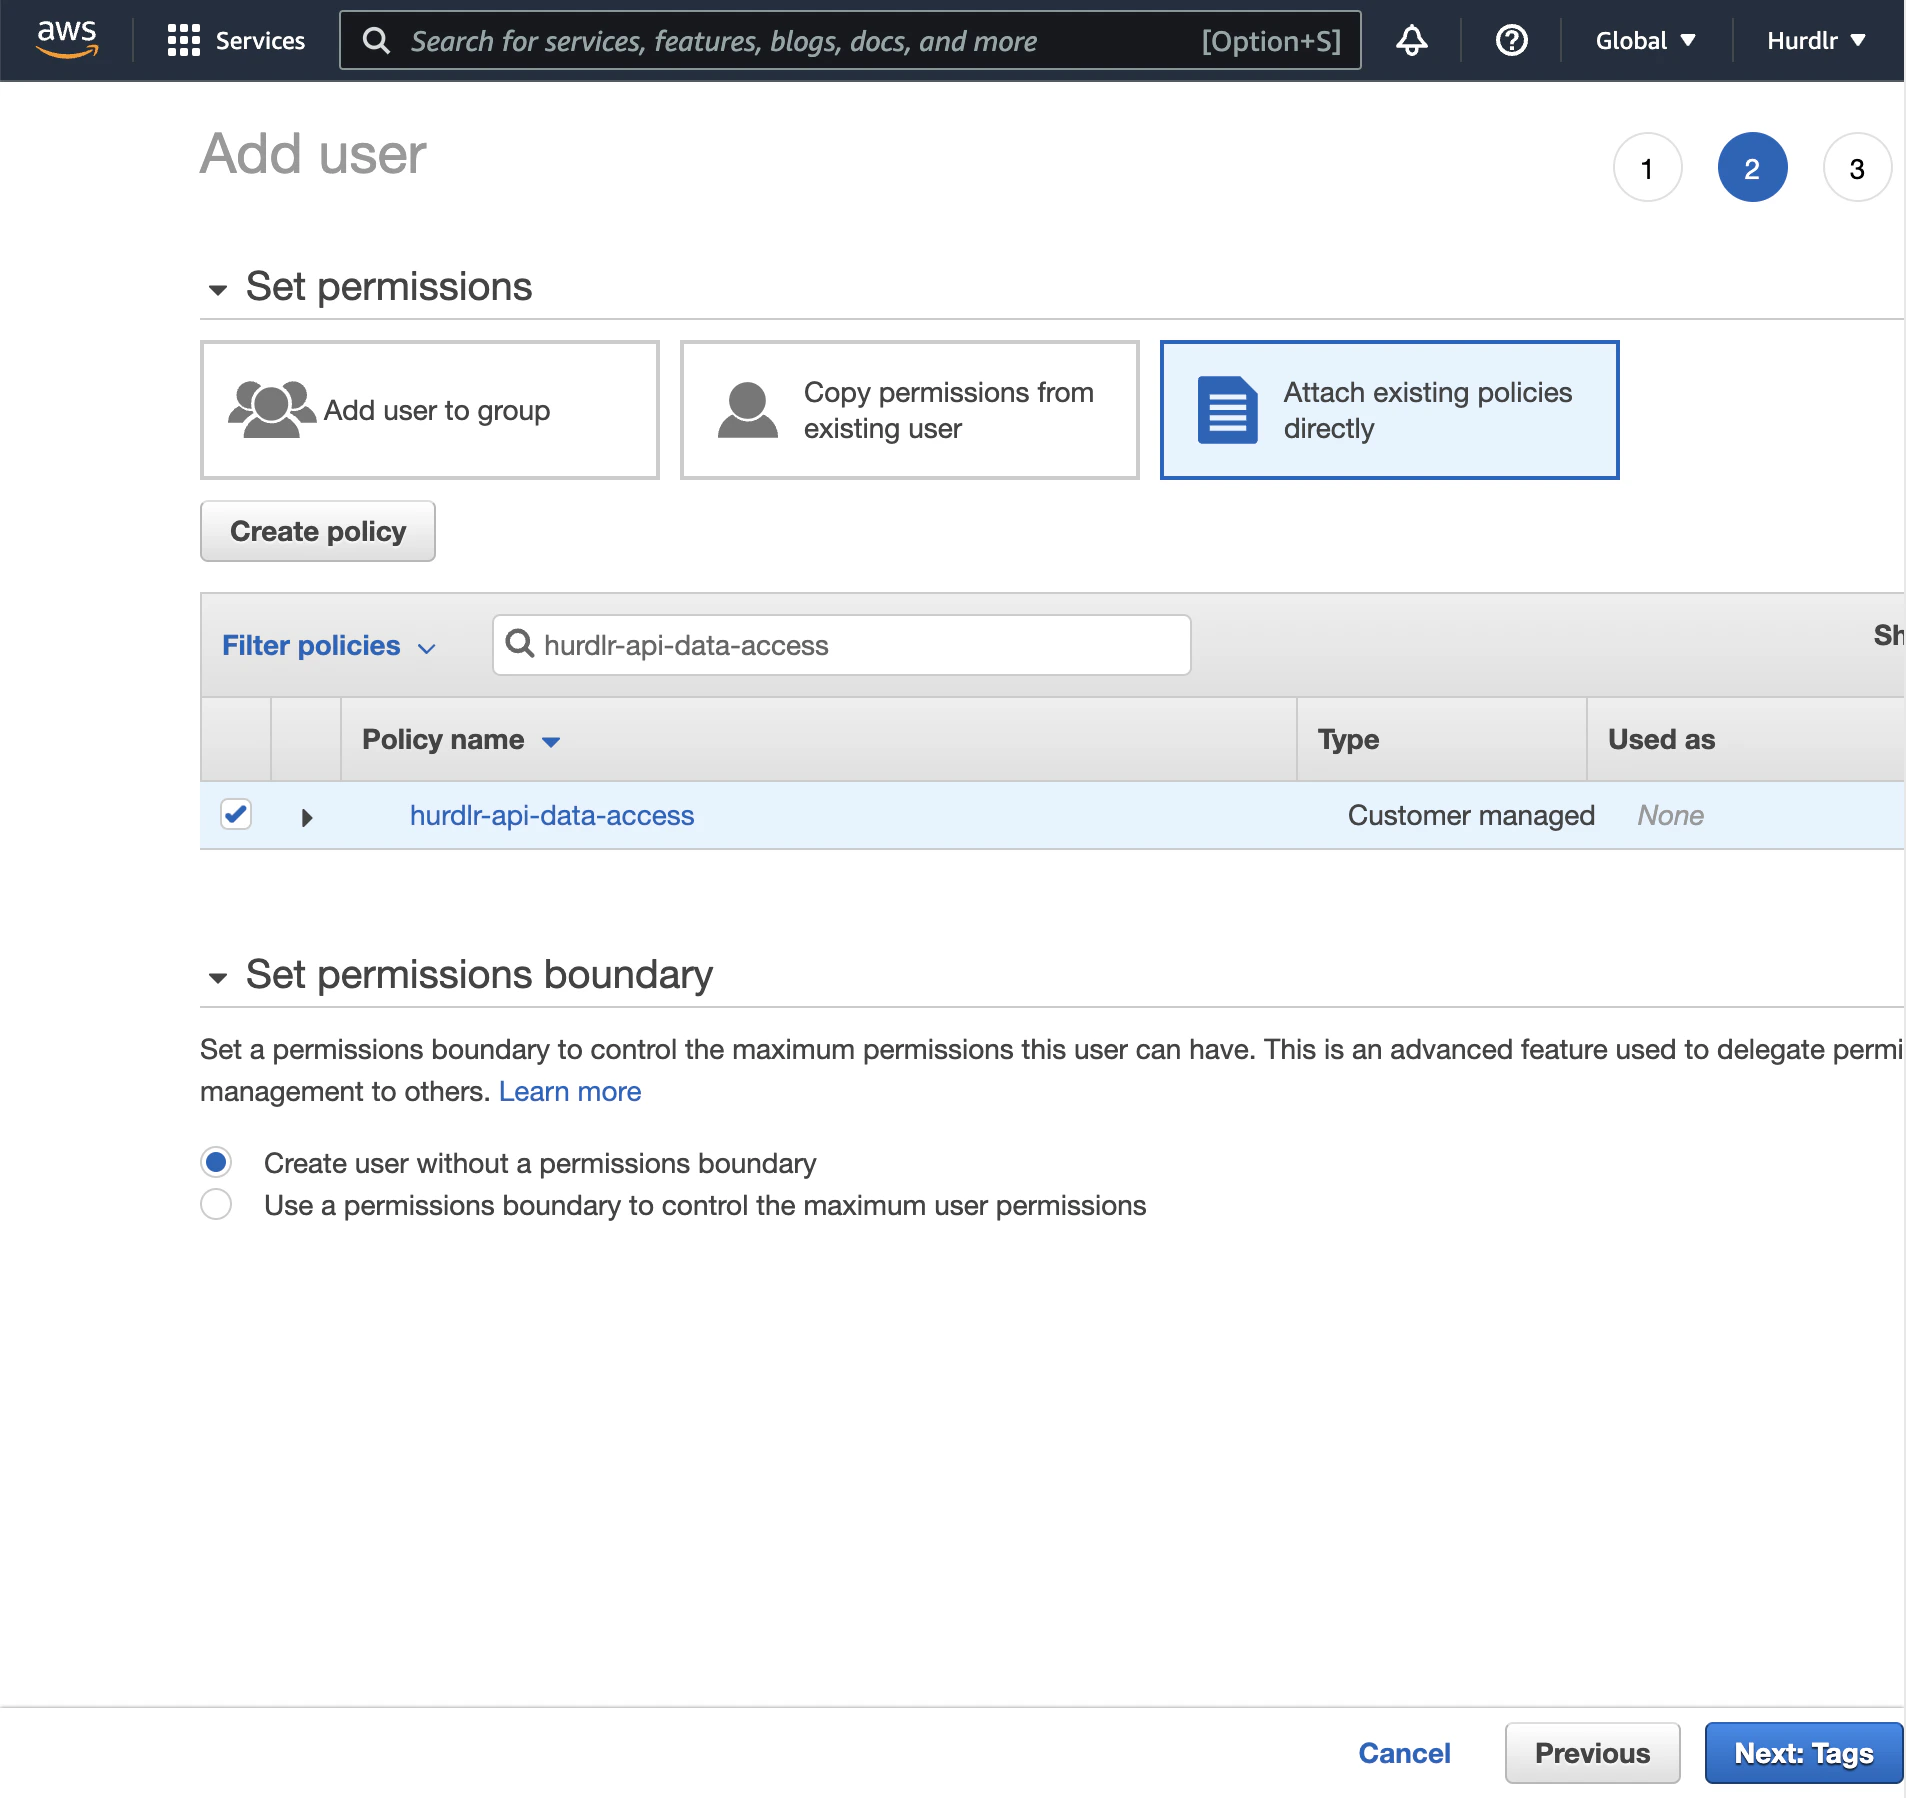
 On the permissions step, select "Attach existing policies directly" and search for the policy you created (e.g., "tight-api-data-access"):
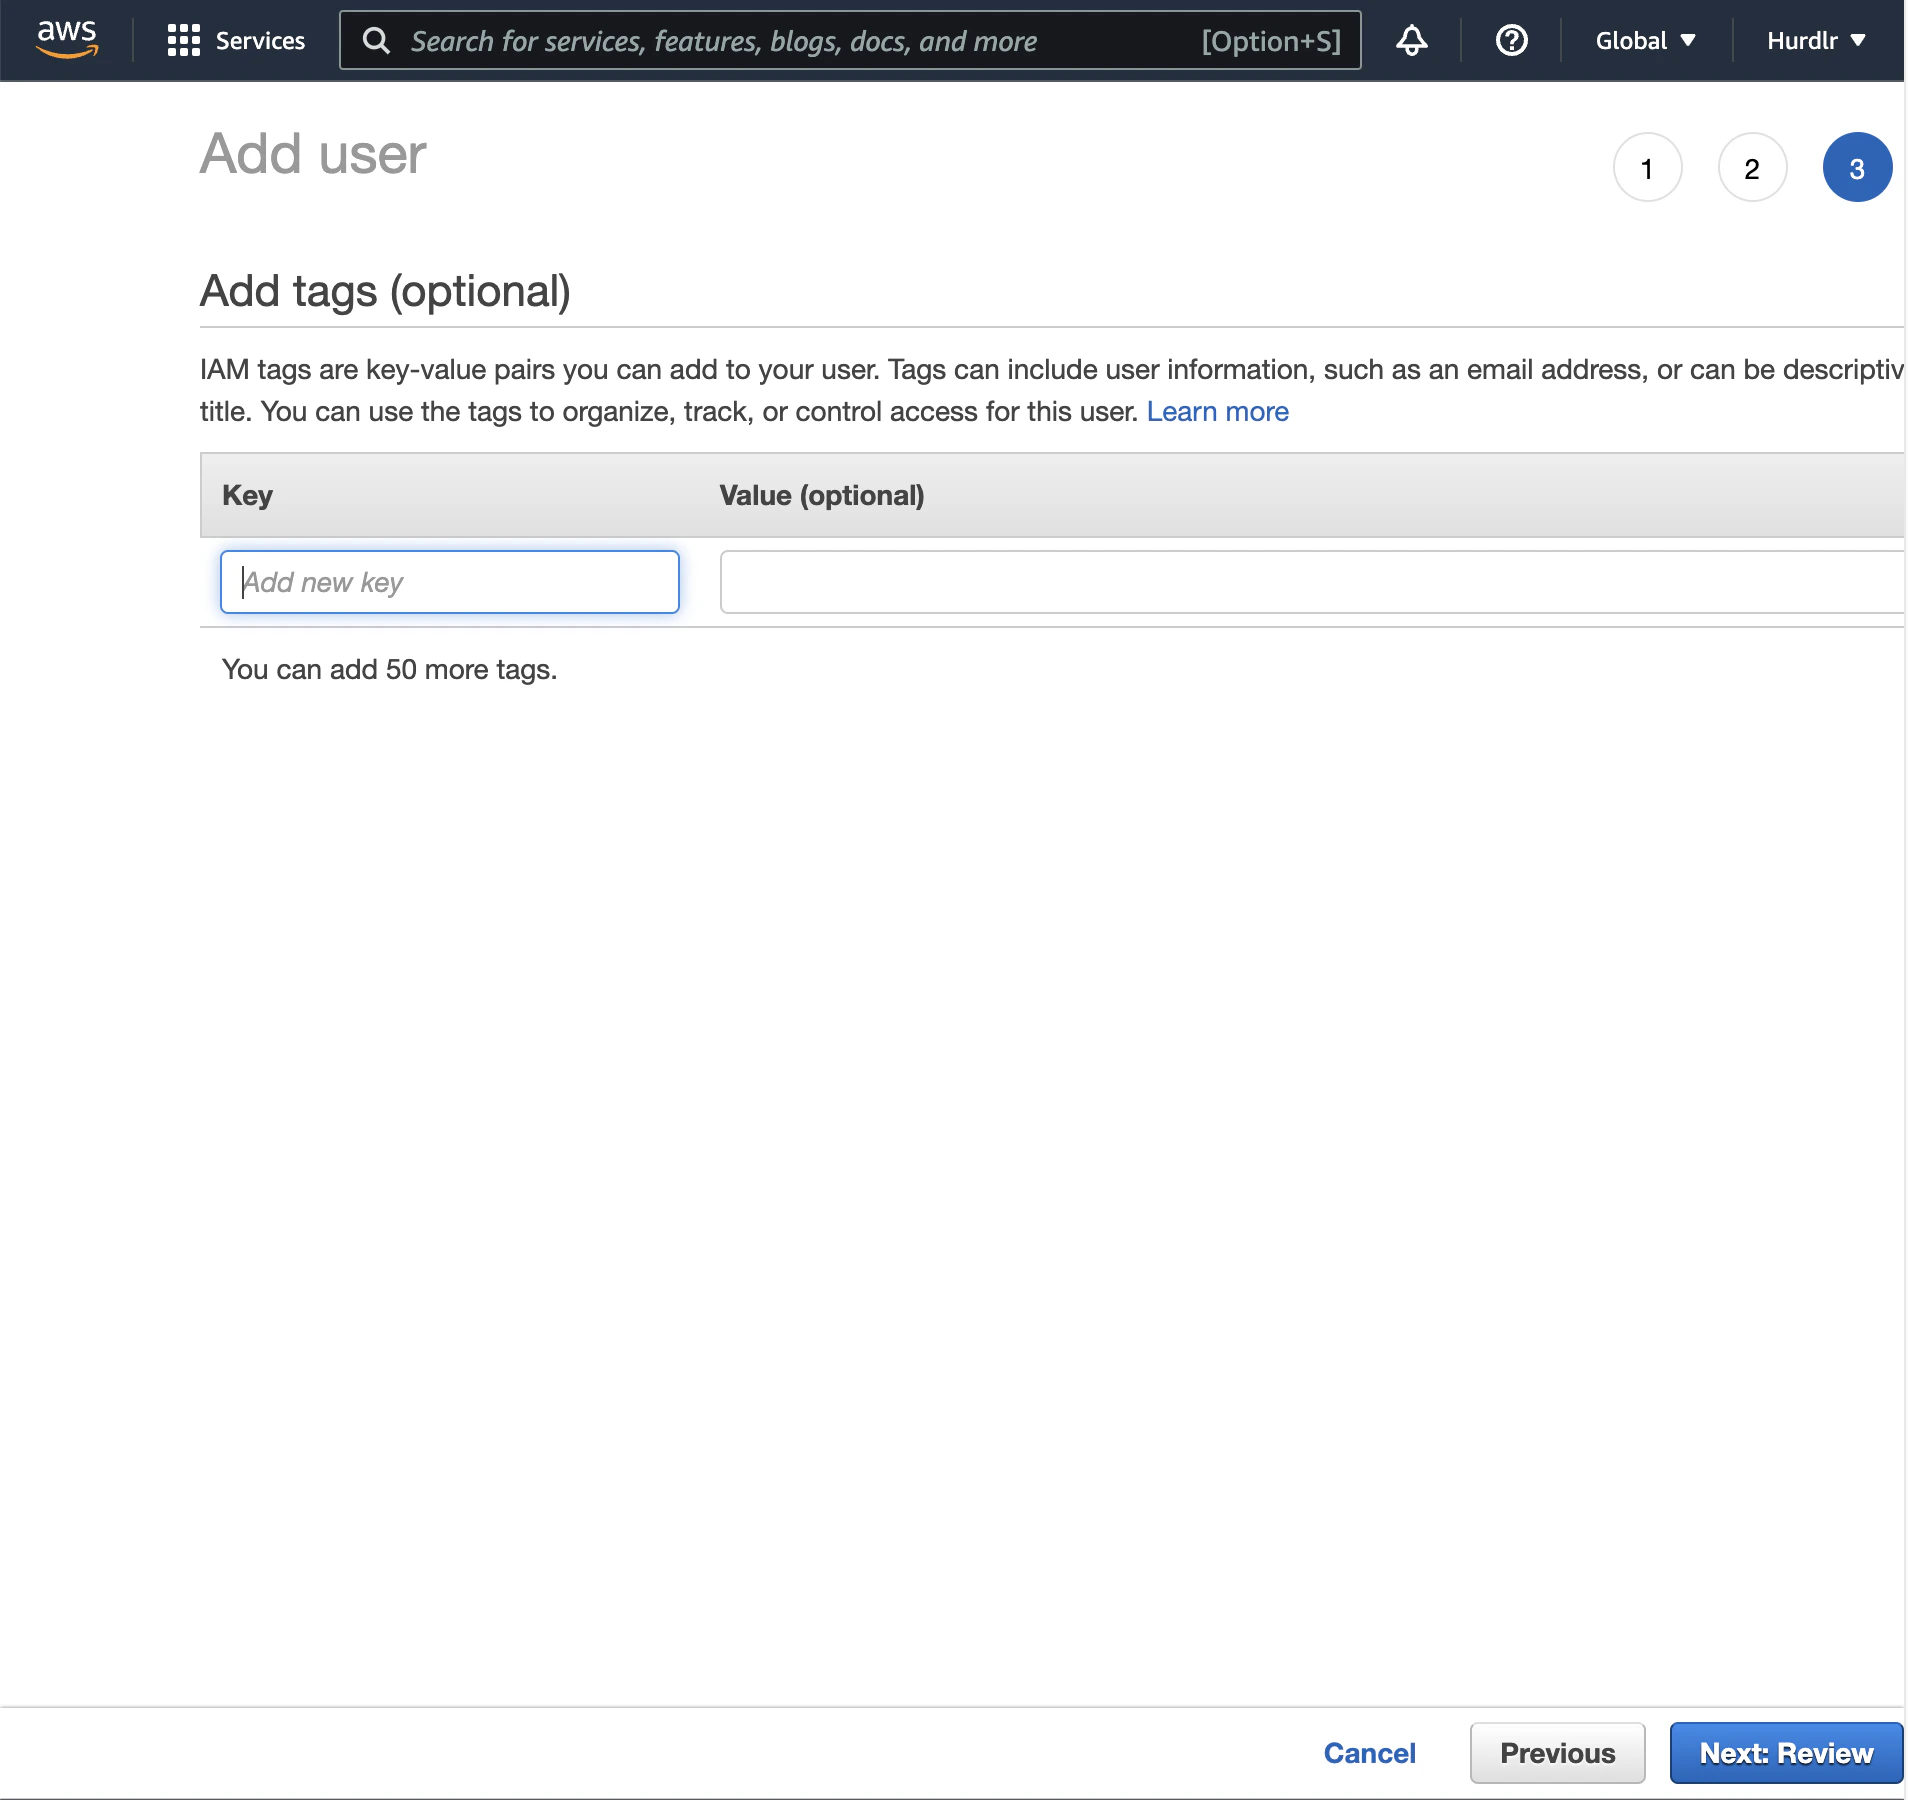
 Click through the remaining steps:
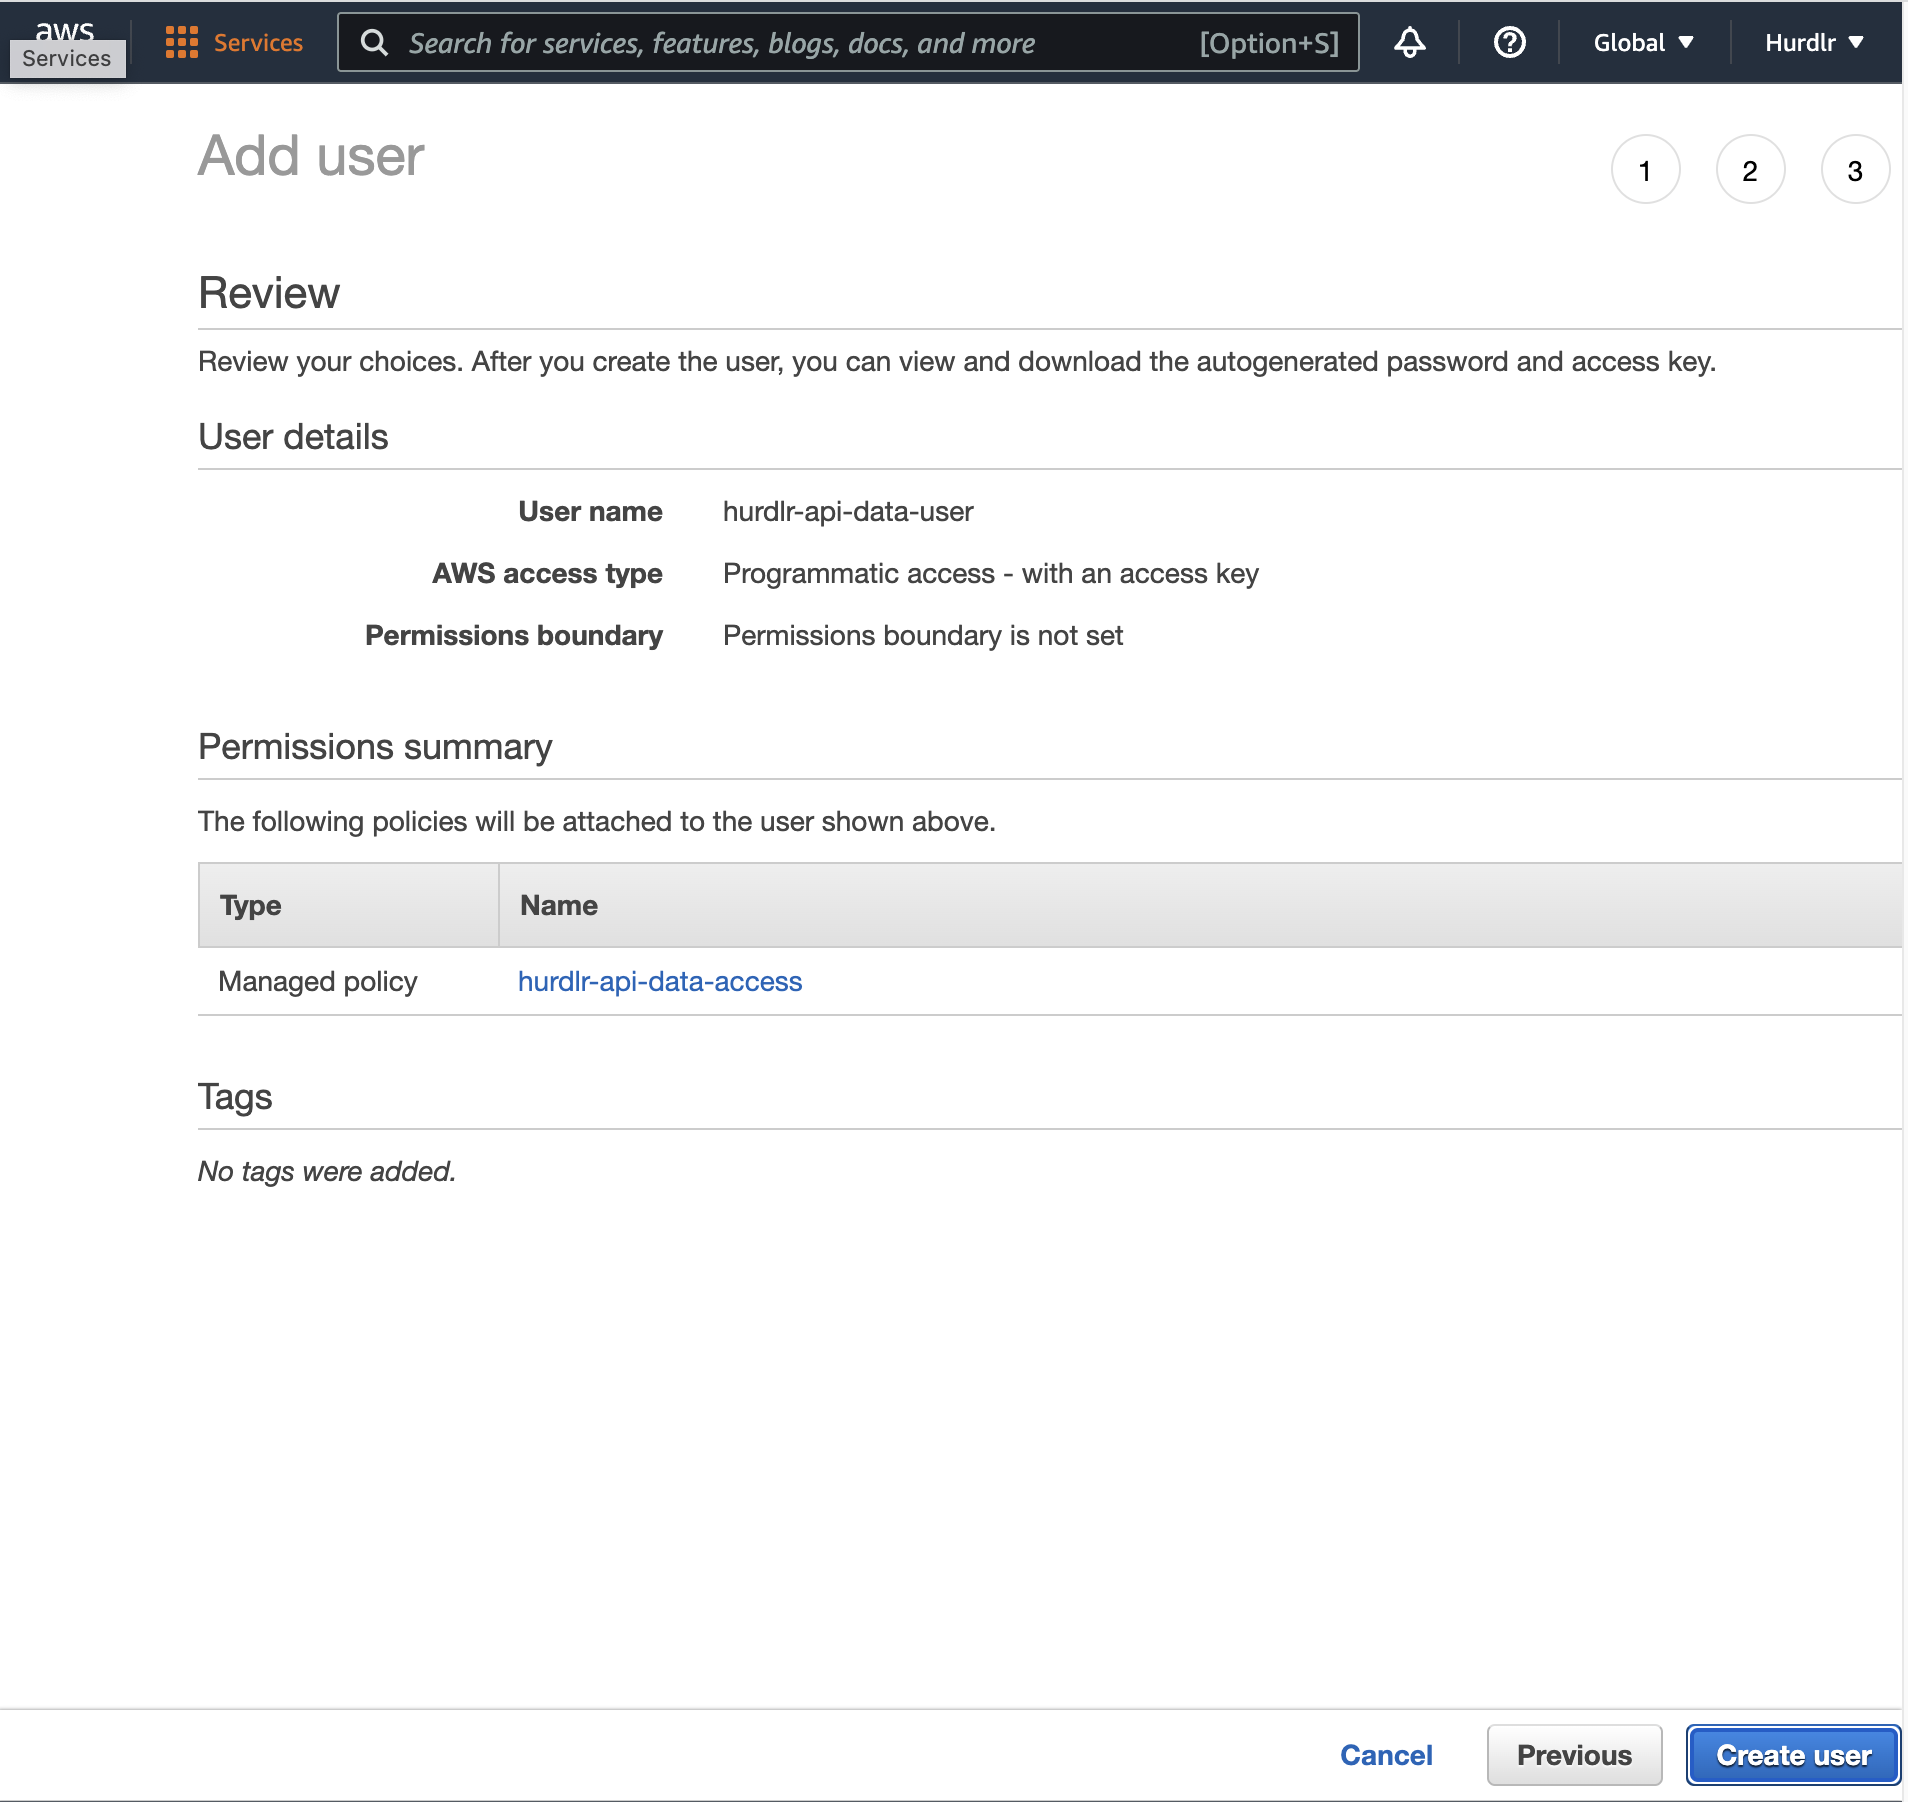
 On the final review, click "Create user":
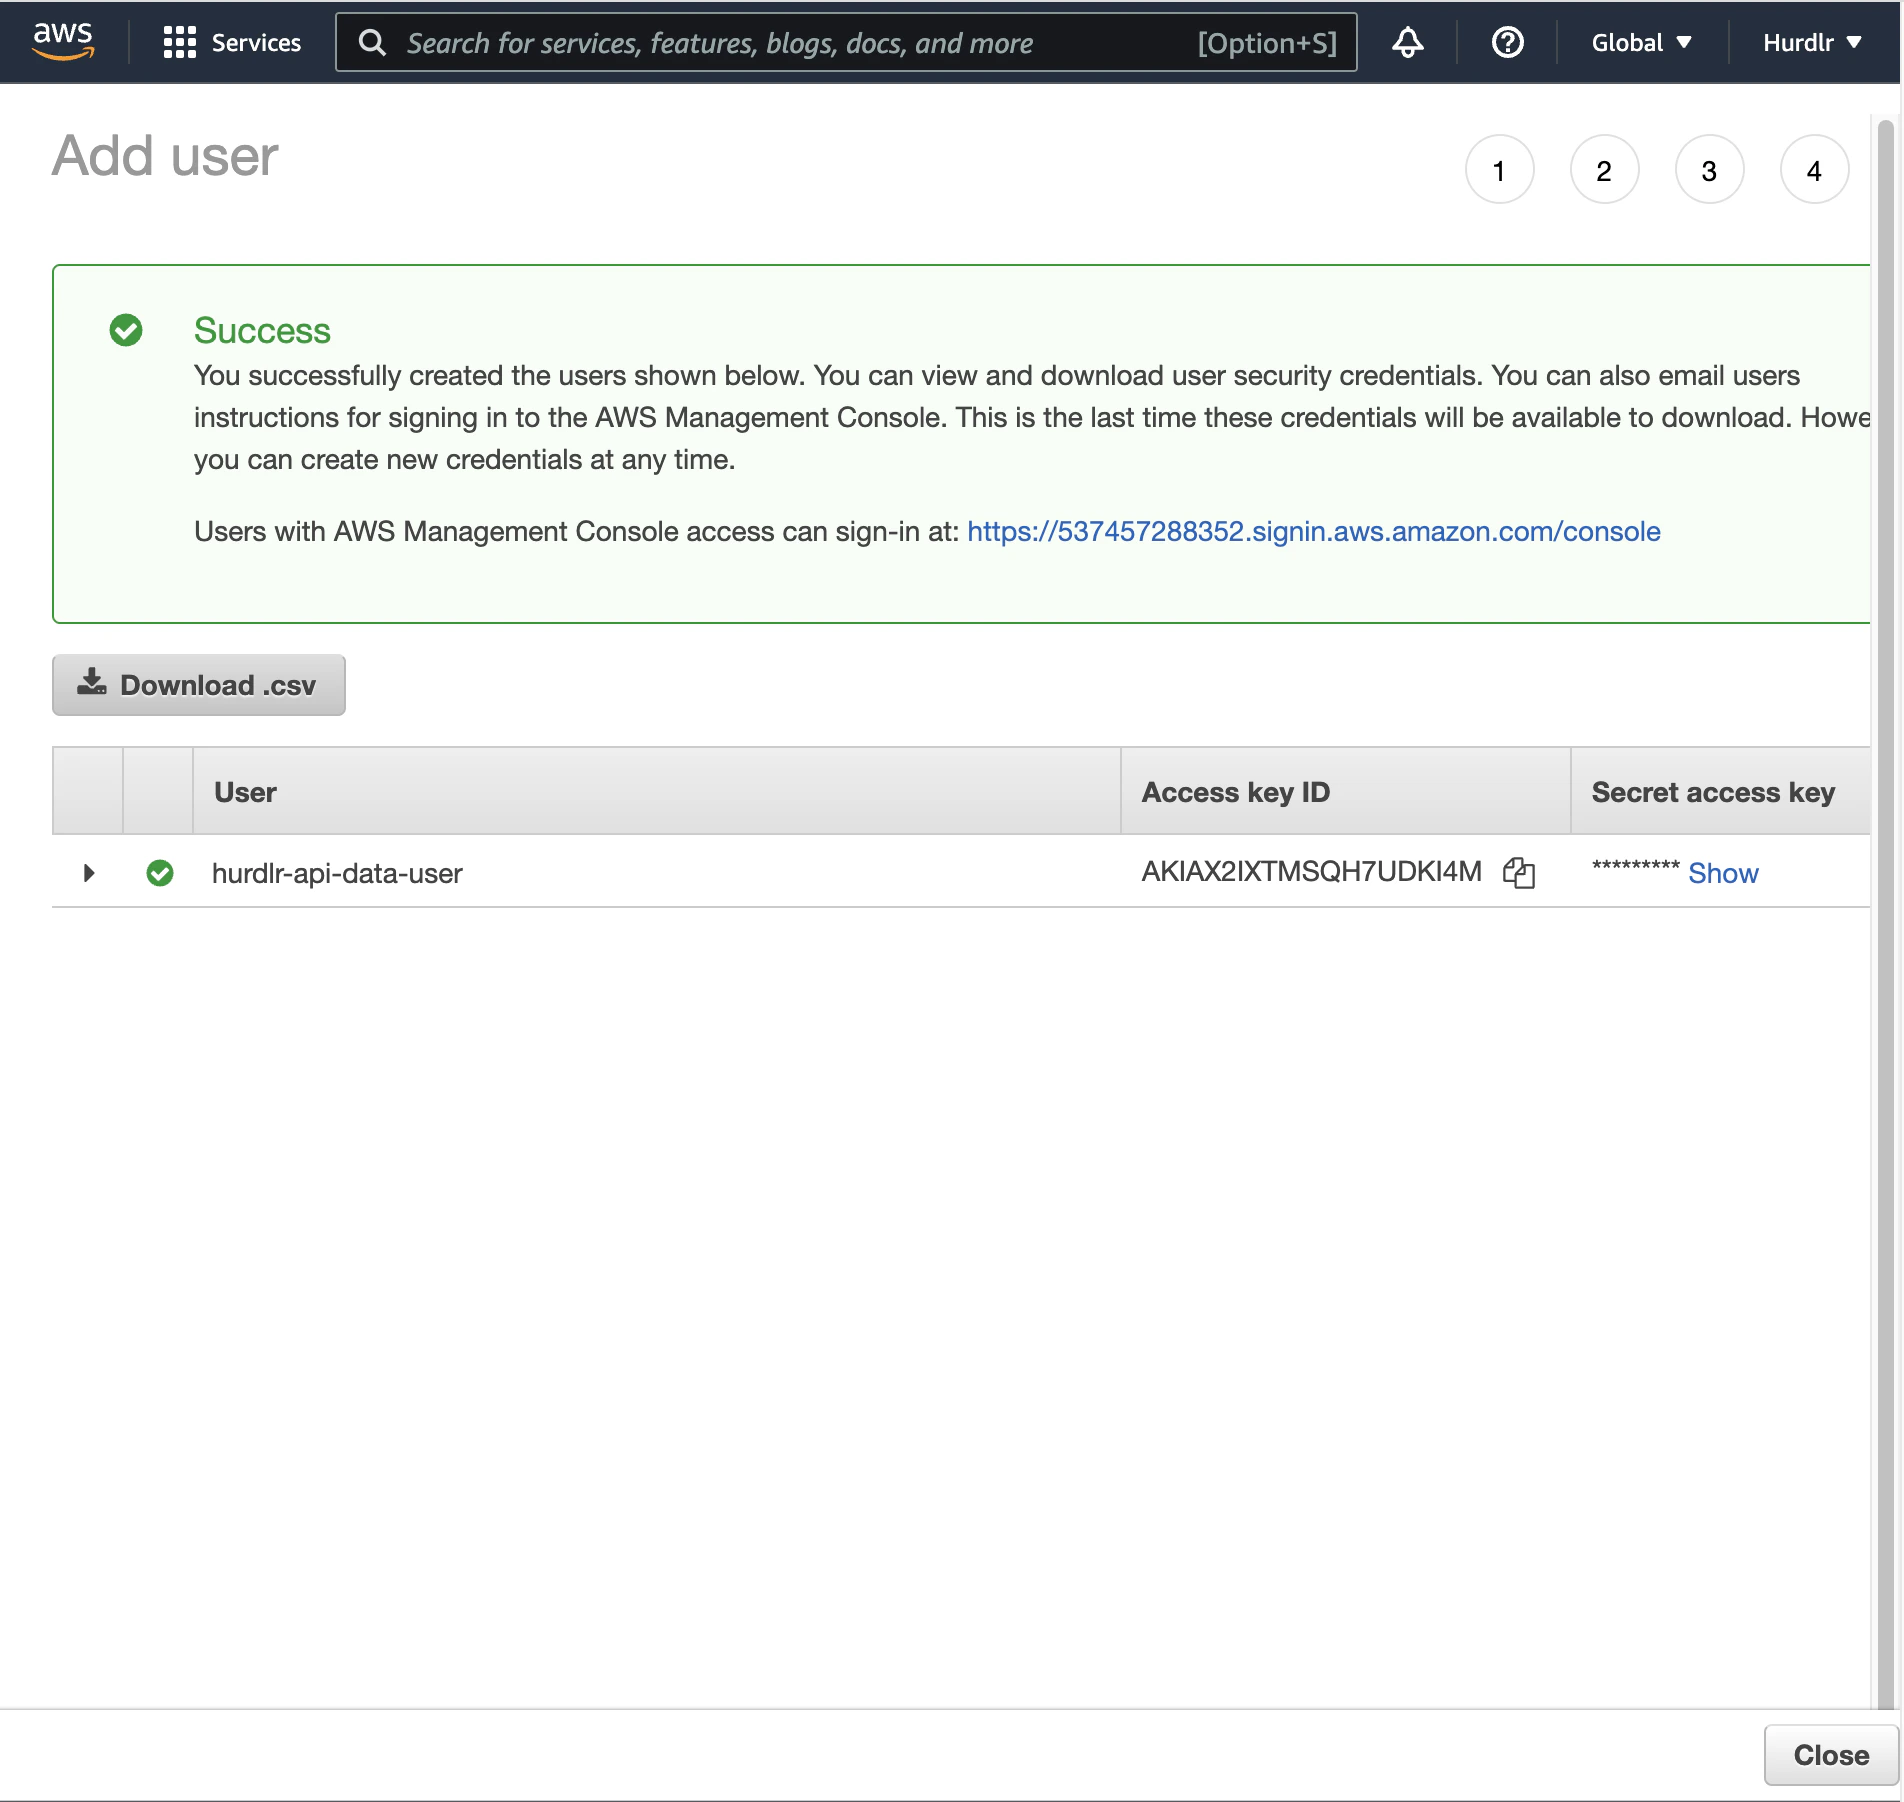
 After the user is created, you'll see the option to "Download .csv" containing the access credentials. Download this file securely:
 For enhanced security, create a dedicated IAM user specifically for Tight with permissions limited only to the target S3 bucket.
## Securely Share Access with Tight
Contact Tight directly at [api@tight.com](mailto:api@tight.com) for instructions on how to securely share:
* The IAM credentials CSV file you downloaded
* Your S3 bucket name
* The AWS region where your bucket is located
Once configured, Tight will automatically begin uploading data files to your S3 bucket based on your preferred schedule (daily, weekly, or monthly). Files are organized in a consistent directory structure within your bucket, making it easy to integrate with your existing data pipelines and analytics tools.
For enhanced security, create a dedicated IAM user specifically for Tight with permissions limited only to the target S3 bucket.
## Securely Share Access with Tight
Contact Tight directly at [api@tight.com](mailto:api@tight.com) for instructions on how to securely share:
* The IAM credentials CSV file you downloaded
* Your S3 bucket name
* The AWS region where your bucket is located
Once configured, Tight will automatically begin uploading data files to your S3 bucket based on your preferred schedule (daily, weekly, or monthly). Files are organized in a consistent directory structure within your bucket, making it easy to integrate with your existing data pipelines and analytics tools.