> ## Documentation Index
> Fetch the complete documentation index at: https://docs.tight.com/llms.txt
> Use this file to discover all available pages before exploring further.
# Amazon S3 Data Lake
Many FinTechs, financial institutions and other platforms have built (or are building) bespoke analytics/reporting solutions for various proprietary use cases. If your enterprise likes to leverage large analytical data, the Tight API has you covered via its [Data Lakes](/v5.0/products/data-lakes) product.
The instructions below explain how to set up your Amazon S3 bucket as a Tight API Data Lake.
## 1. Create a bucket
The first step to configuring your Tight API data lake is to [create an Amazon S3 bucket](https://docs.aws.amazon.com/AmazonS3/latest/userguide/create-bucket-overview.html) to store Tight API data. You can name this bucket anything you'd like; "hurdlr-api-data" is used for the examples shown below.
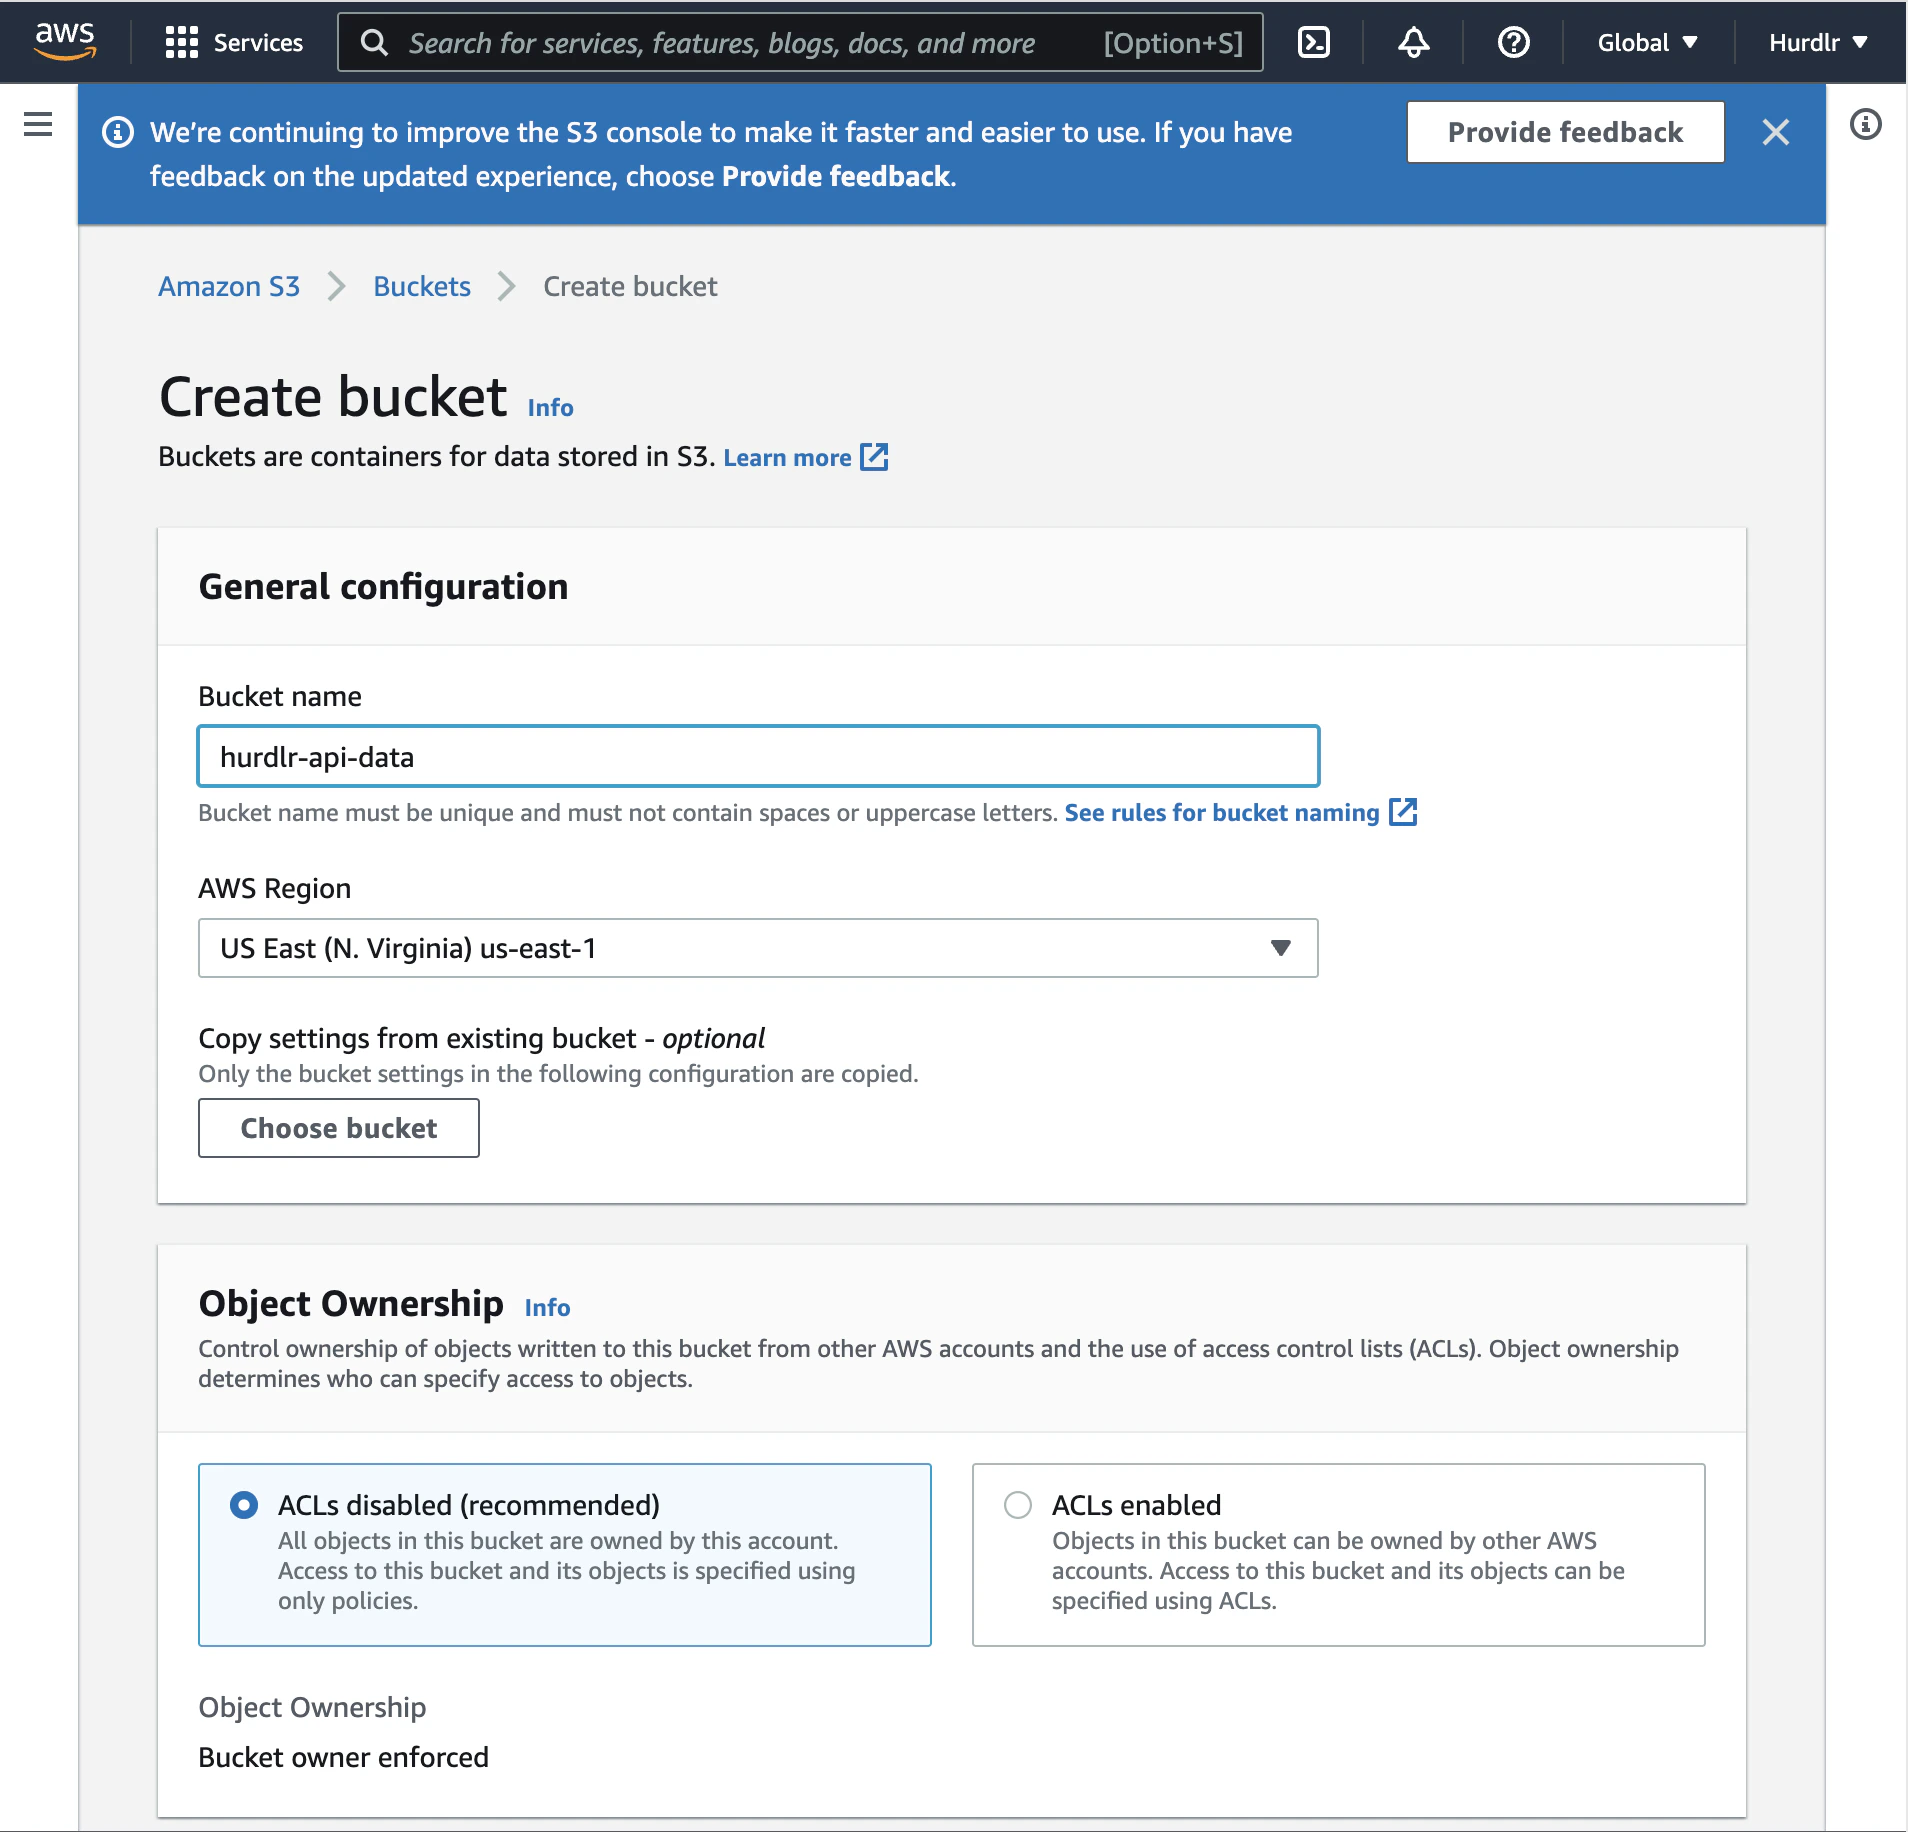 Please note down the "AWS Region" that you selected.
## 2. Configure a policy for programmatic access to the bucket
Next, you'll need to [create an IAM policy](https://aws.amazon.com/blogs/security/writing-iam-policies-how-to-grant-access-to-an-amazon-s3-bucket/) to grant programmatic access to the Amazon S3 bucket that we created above.
The first step on the "Create policy" flow will give you the option to use the Visual Editor or JSON. You should select the JSON option, and then paste the following JSON in there:
```json theme={null}
{
"Version": "2012-10-17",
"Statement": [
{
"Effect": "Allow",
"Action": [
"s3:ListBucket"
],
"Resource": [
"arn:aws:s3:::hurdlr-api-data"
]
},
{
"Effect": "Allow",
"Action": [
"s3:PutObject",
"s3:GetObject",
"s3:DeleteObject"
],
"Resource": [
"arn:aws:s3:::hurdlr-api-data/*"
]
}
]
}
```
Please note down the "AWS Region" that you selected.
## 2. Configure a policy for programmatic access to the bucket
Next, you'll need to [create an IAM policy](https://aws.amazon.com/blogs/security/writing-iam-policies-how-to-grant-access-to-an-amazon-s3-bucket/) to grant programmatic access to the Amazon S3 bucket that we created above.
The first step on the "Create policy" flow will give you the option to use the Visual Editor or JSON. You should select the JSON option, and then paste the following JSON in there:
```json theme={null}
{
"Version": "2012-10-17",
"Statement": [
{
"Effect": "Allow",
"Action": [
"s3:ListBucket"
],
"Resource": [
"arn:aws:s3:::hurdlr-api-data"
]
},
{
"Effect": "Allow",
"Action": [
"s3:PutObject",
"s3:GetObject",
"s3:DeleteObject"
],
"Resource": [
"arn:aws:s3:::hurdlr-api-data/*"
]
}
]
}
```
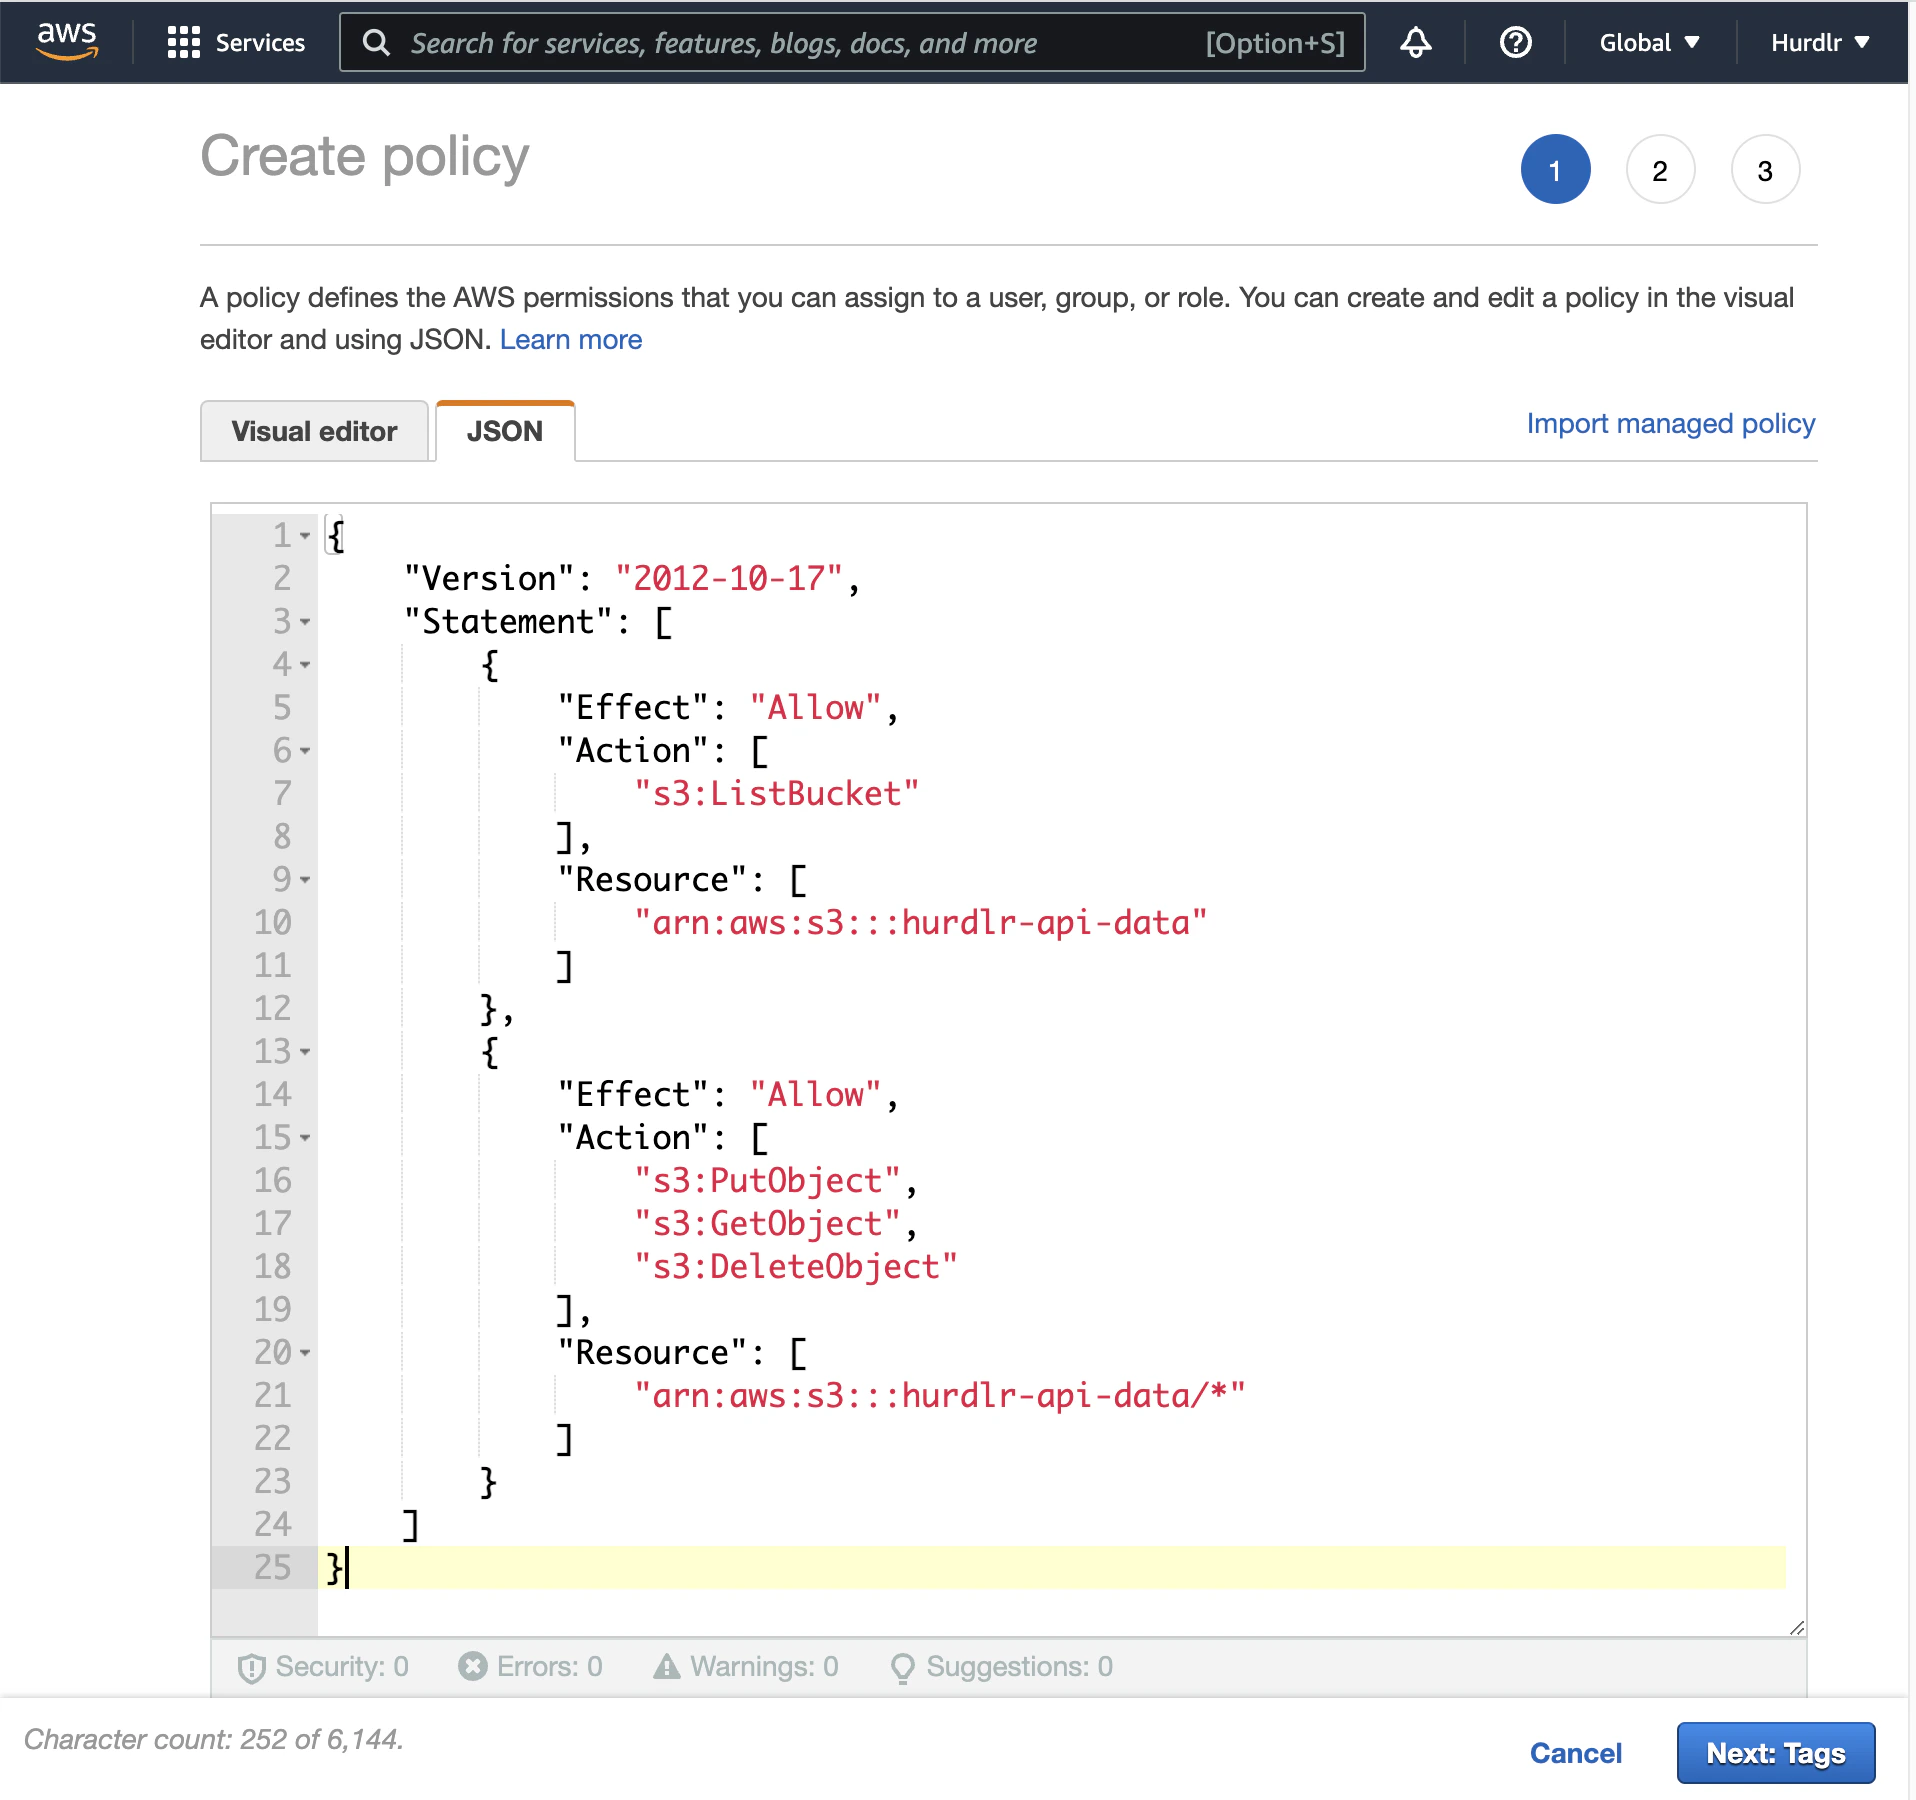 The second step of the "Create policy" flow simply entails clicking "Next: Review":
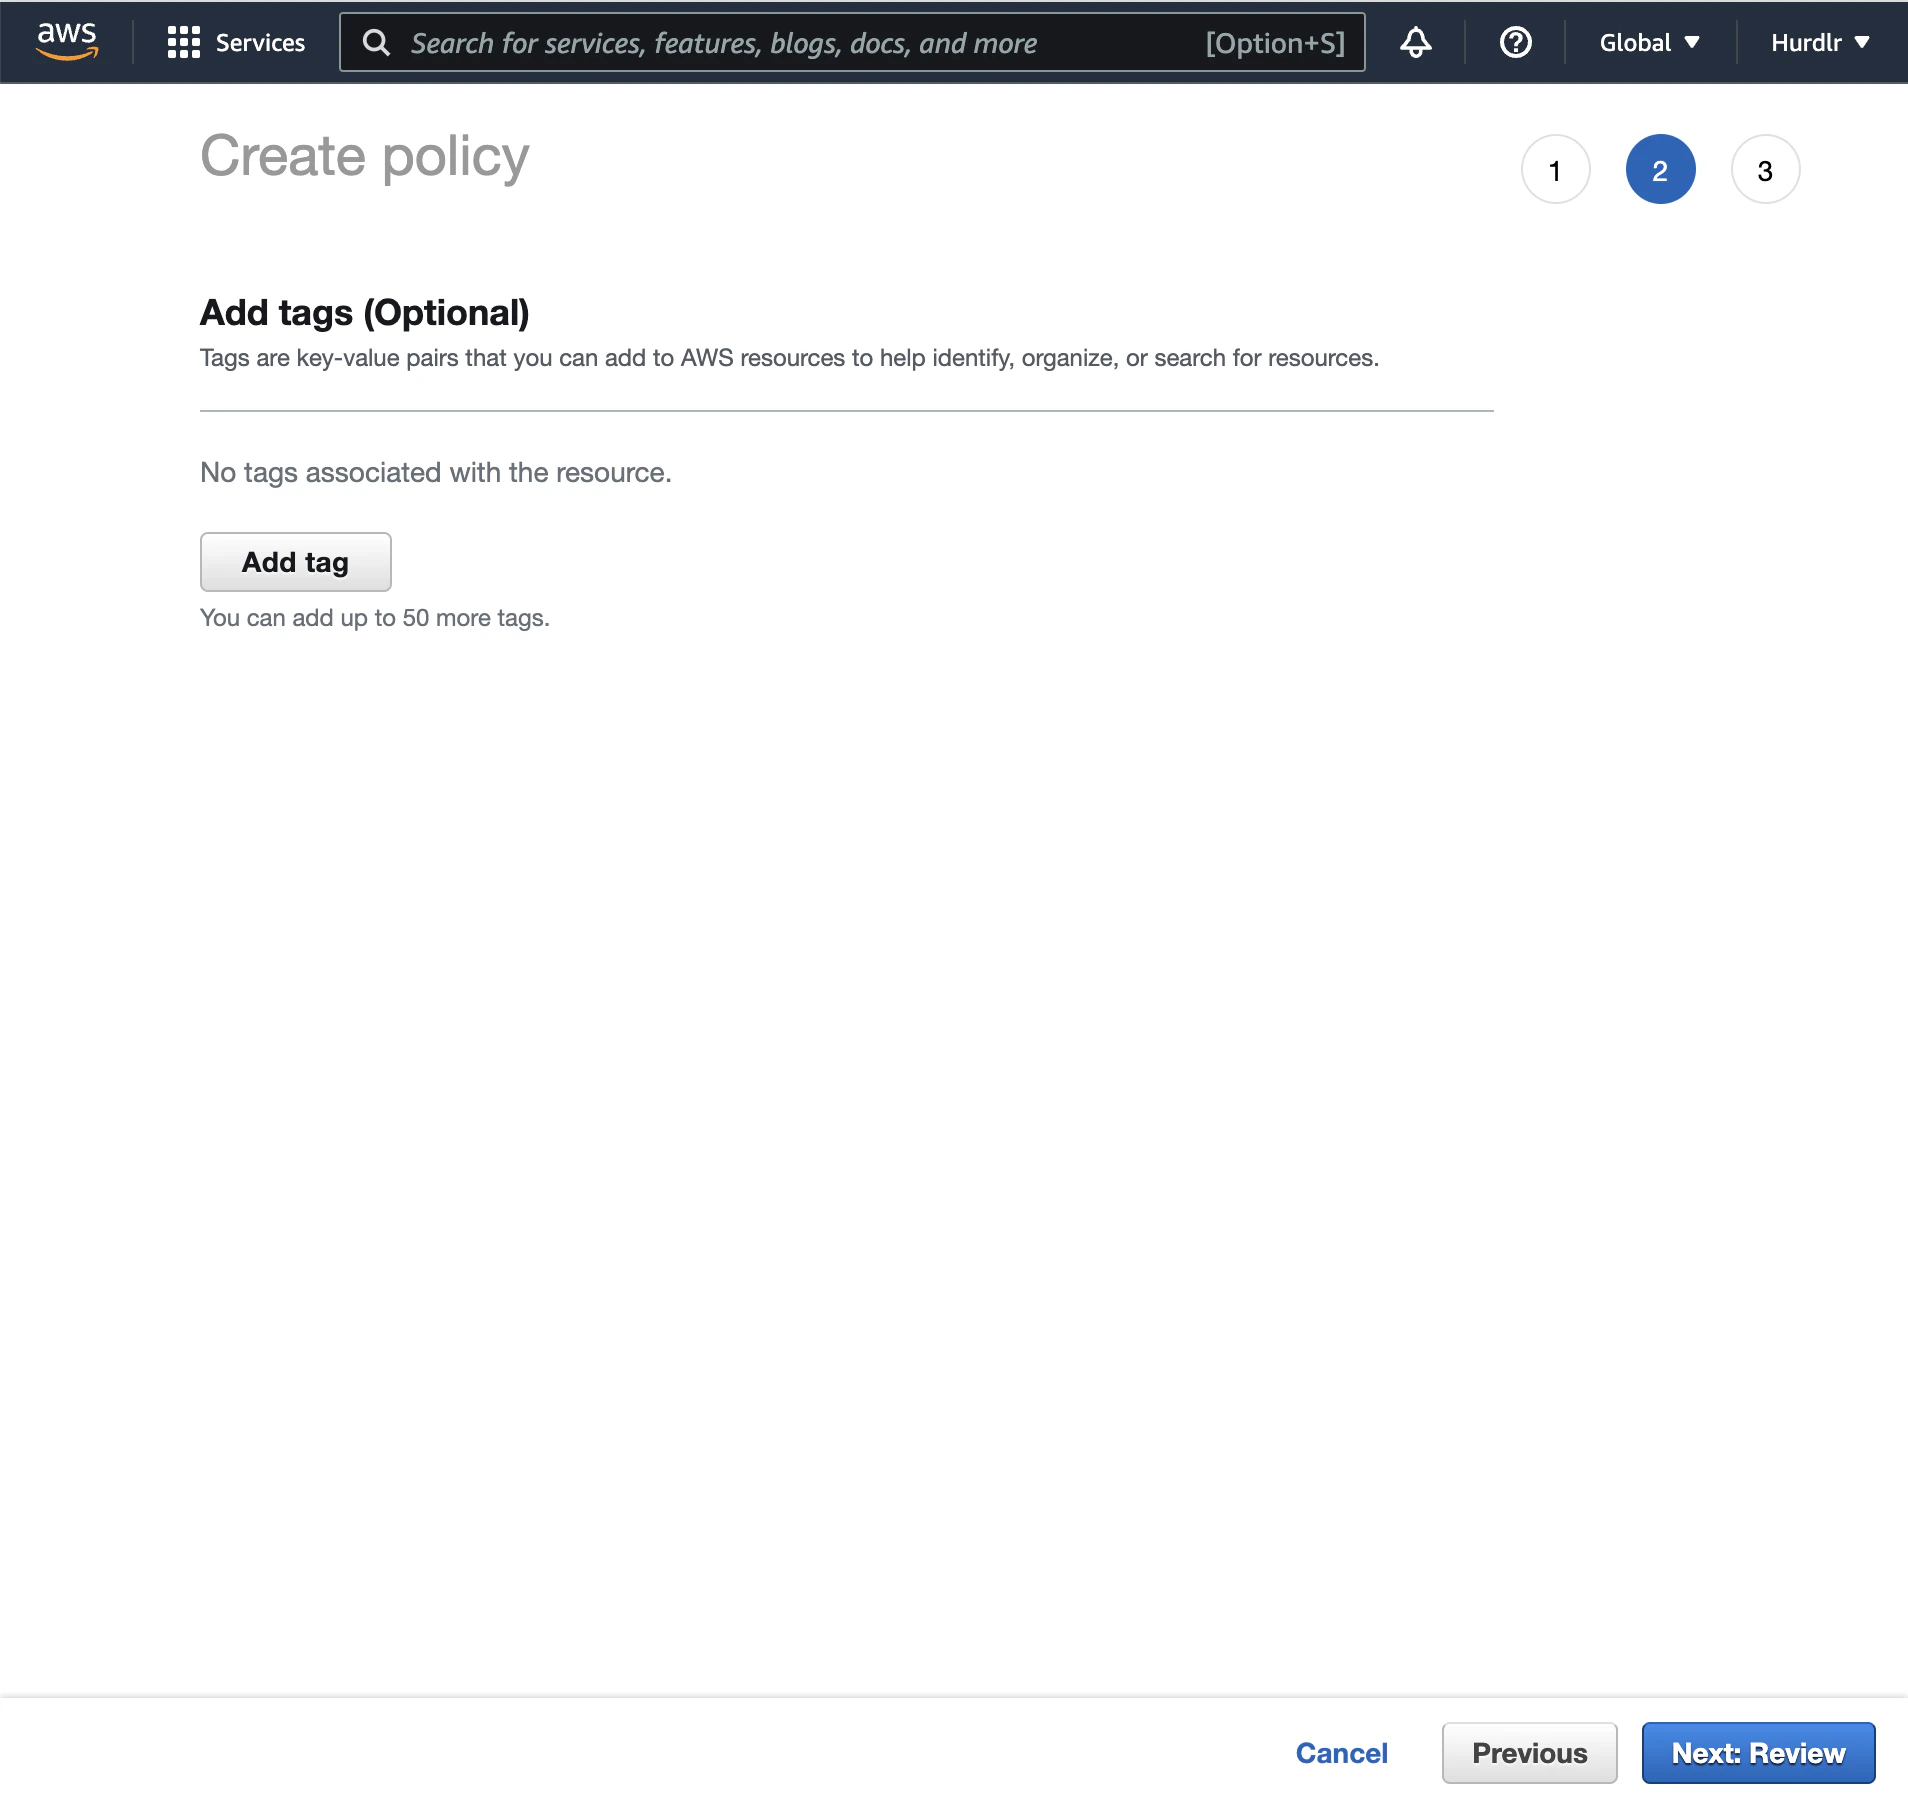 The third step of the "Create policy" flow will require you to input a `Name` and `Description`. We recommend setting the `Name` to "hurdlr-api-data-access".
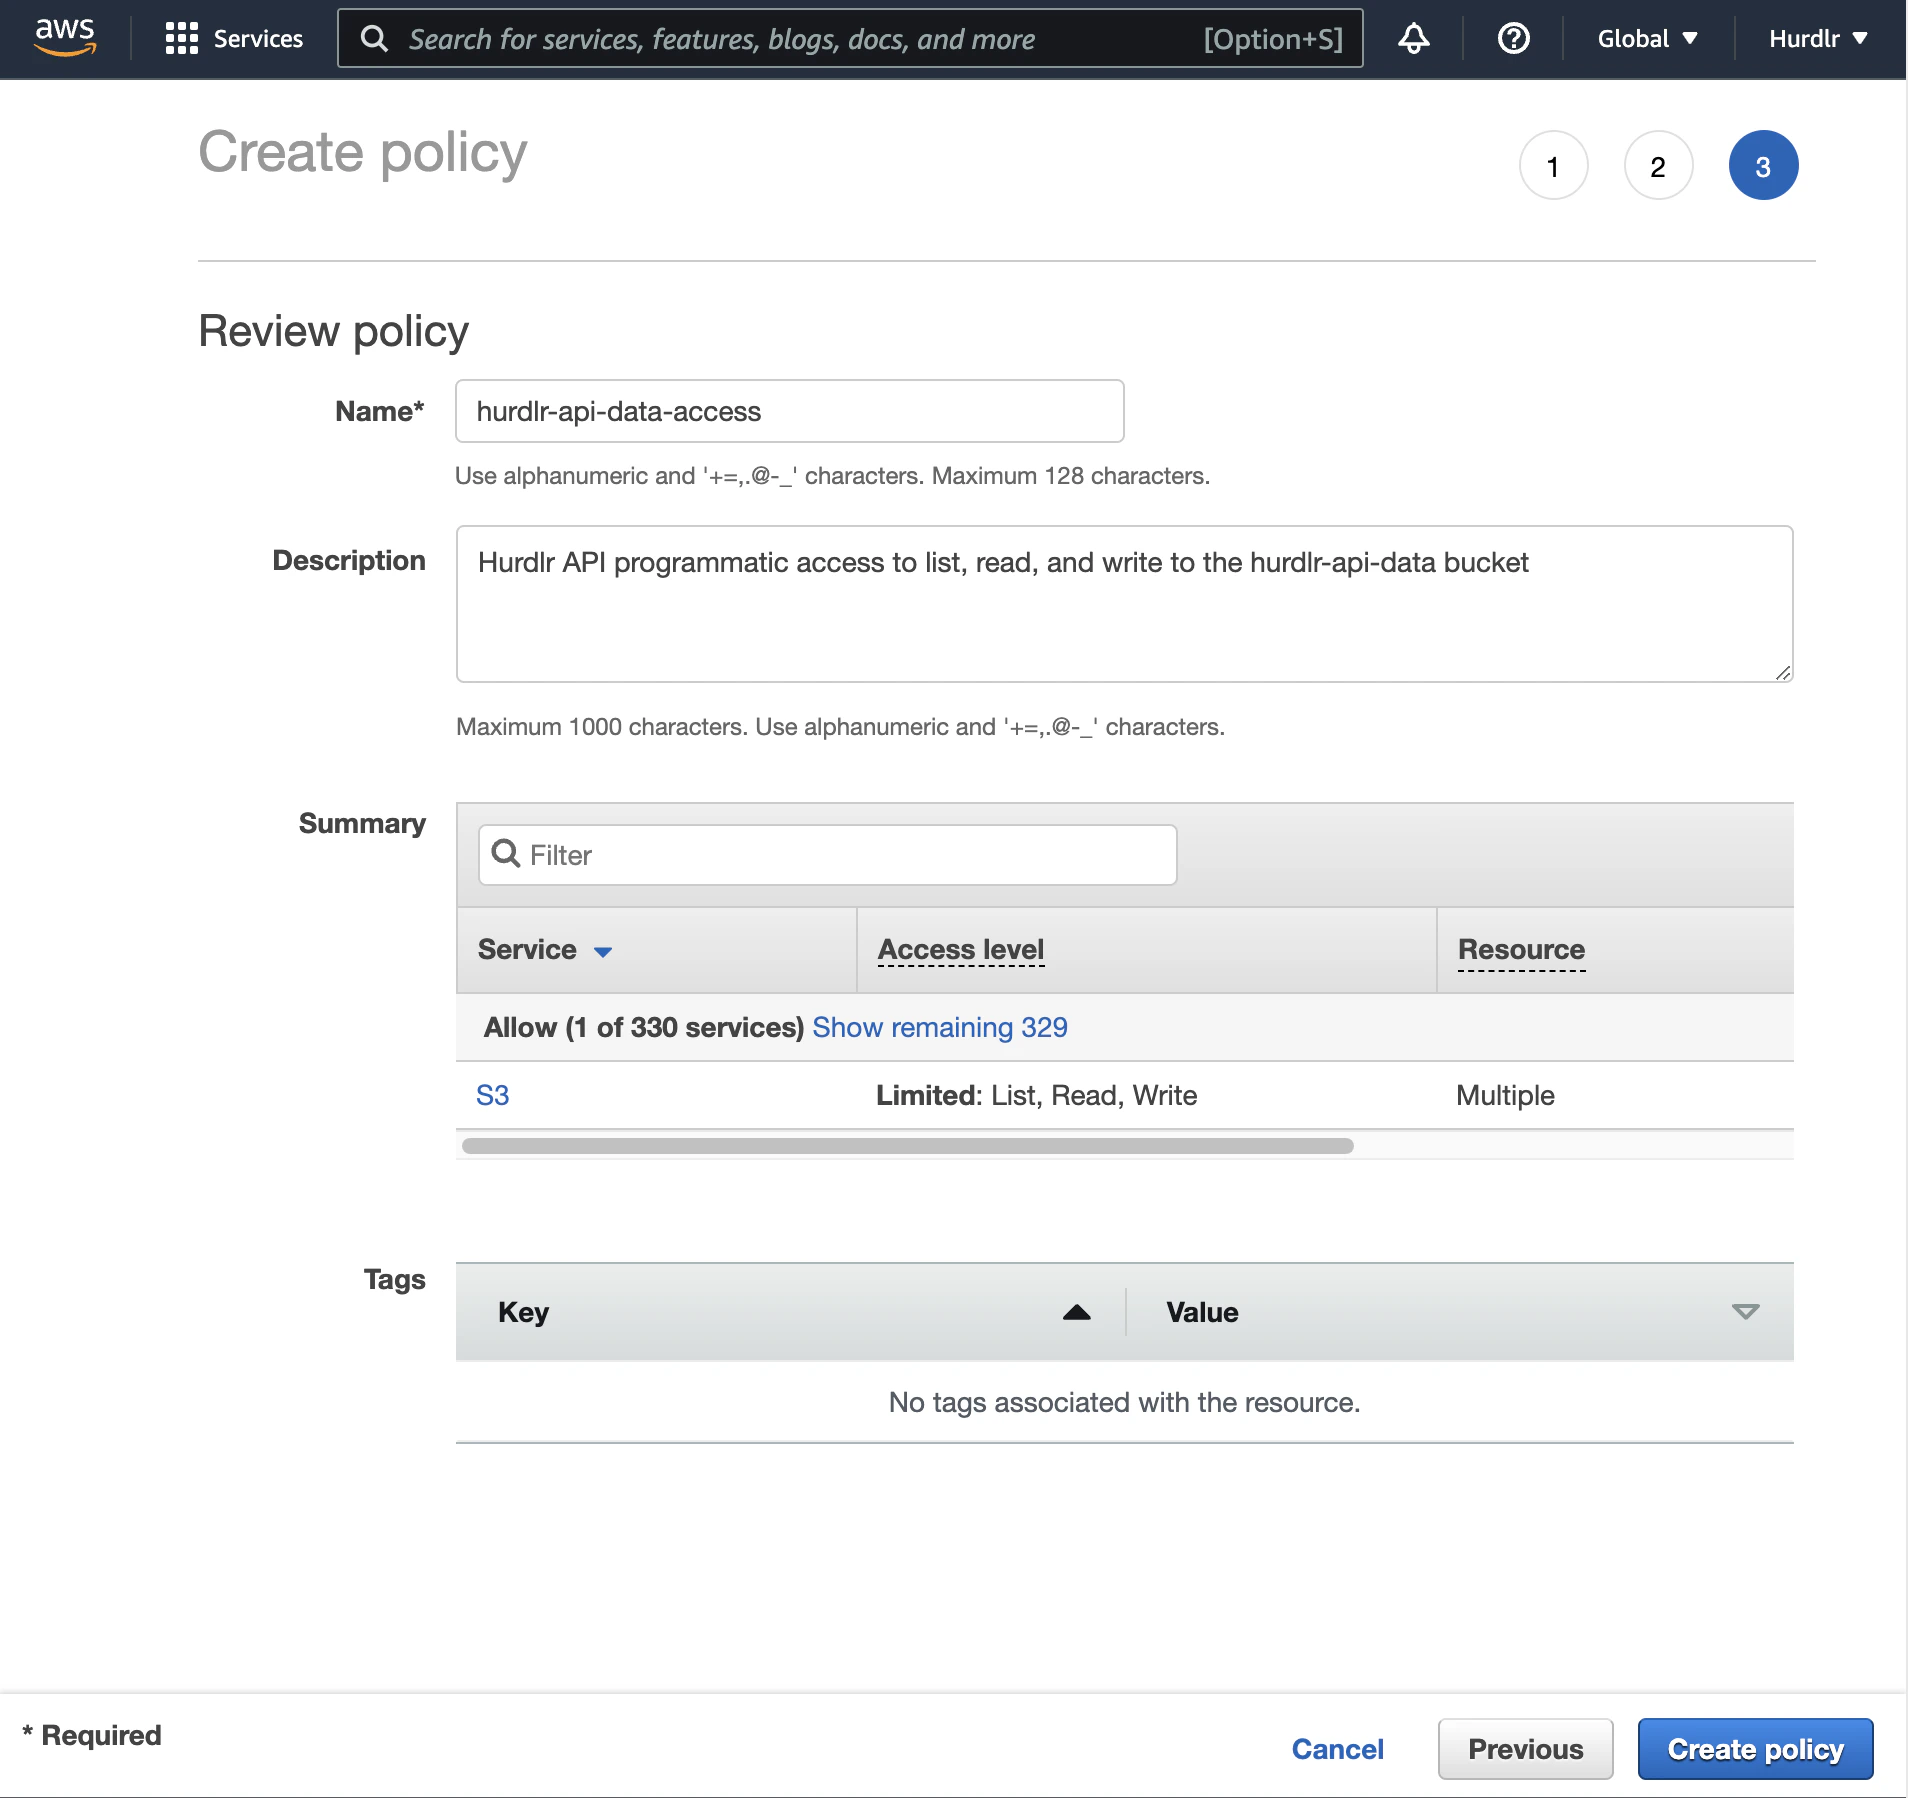 Simply click "Create policy" and then you're done with this step.
## 3. Add an IAM user using the new policy
Next, you'll need to [add an IAM user](https://docs.aws.amazon.com/IAM/latest/UserGuide/id_users_create.html#id_users_create_console) using the new policy created in the prior step.
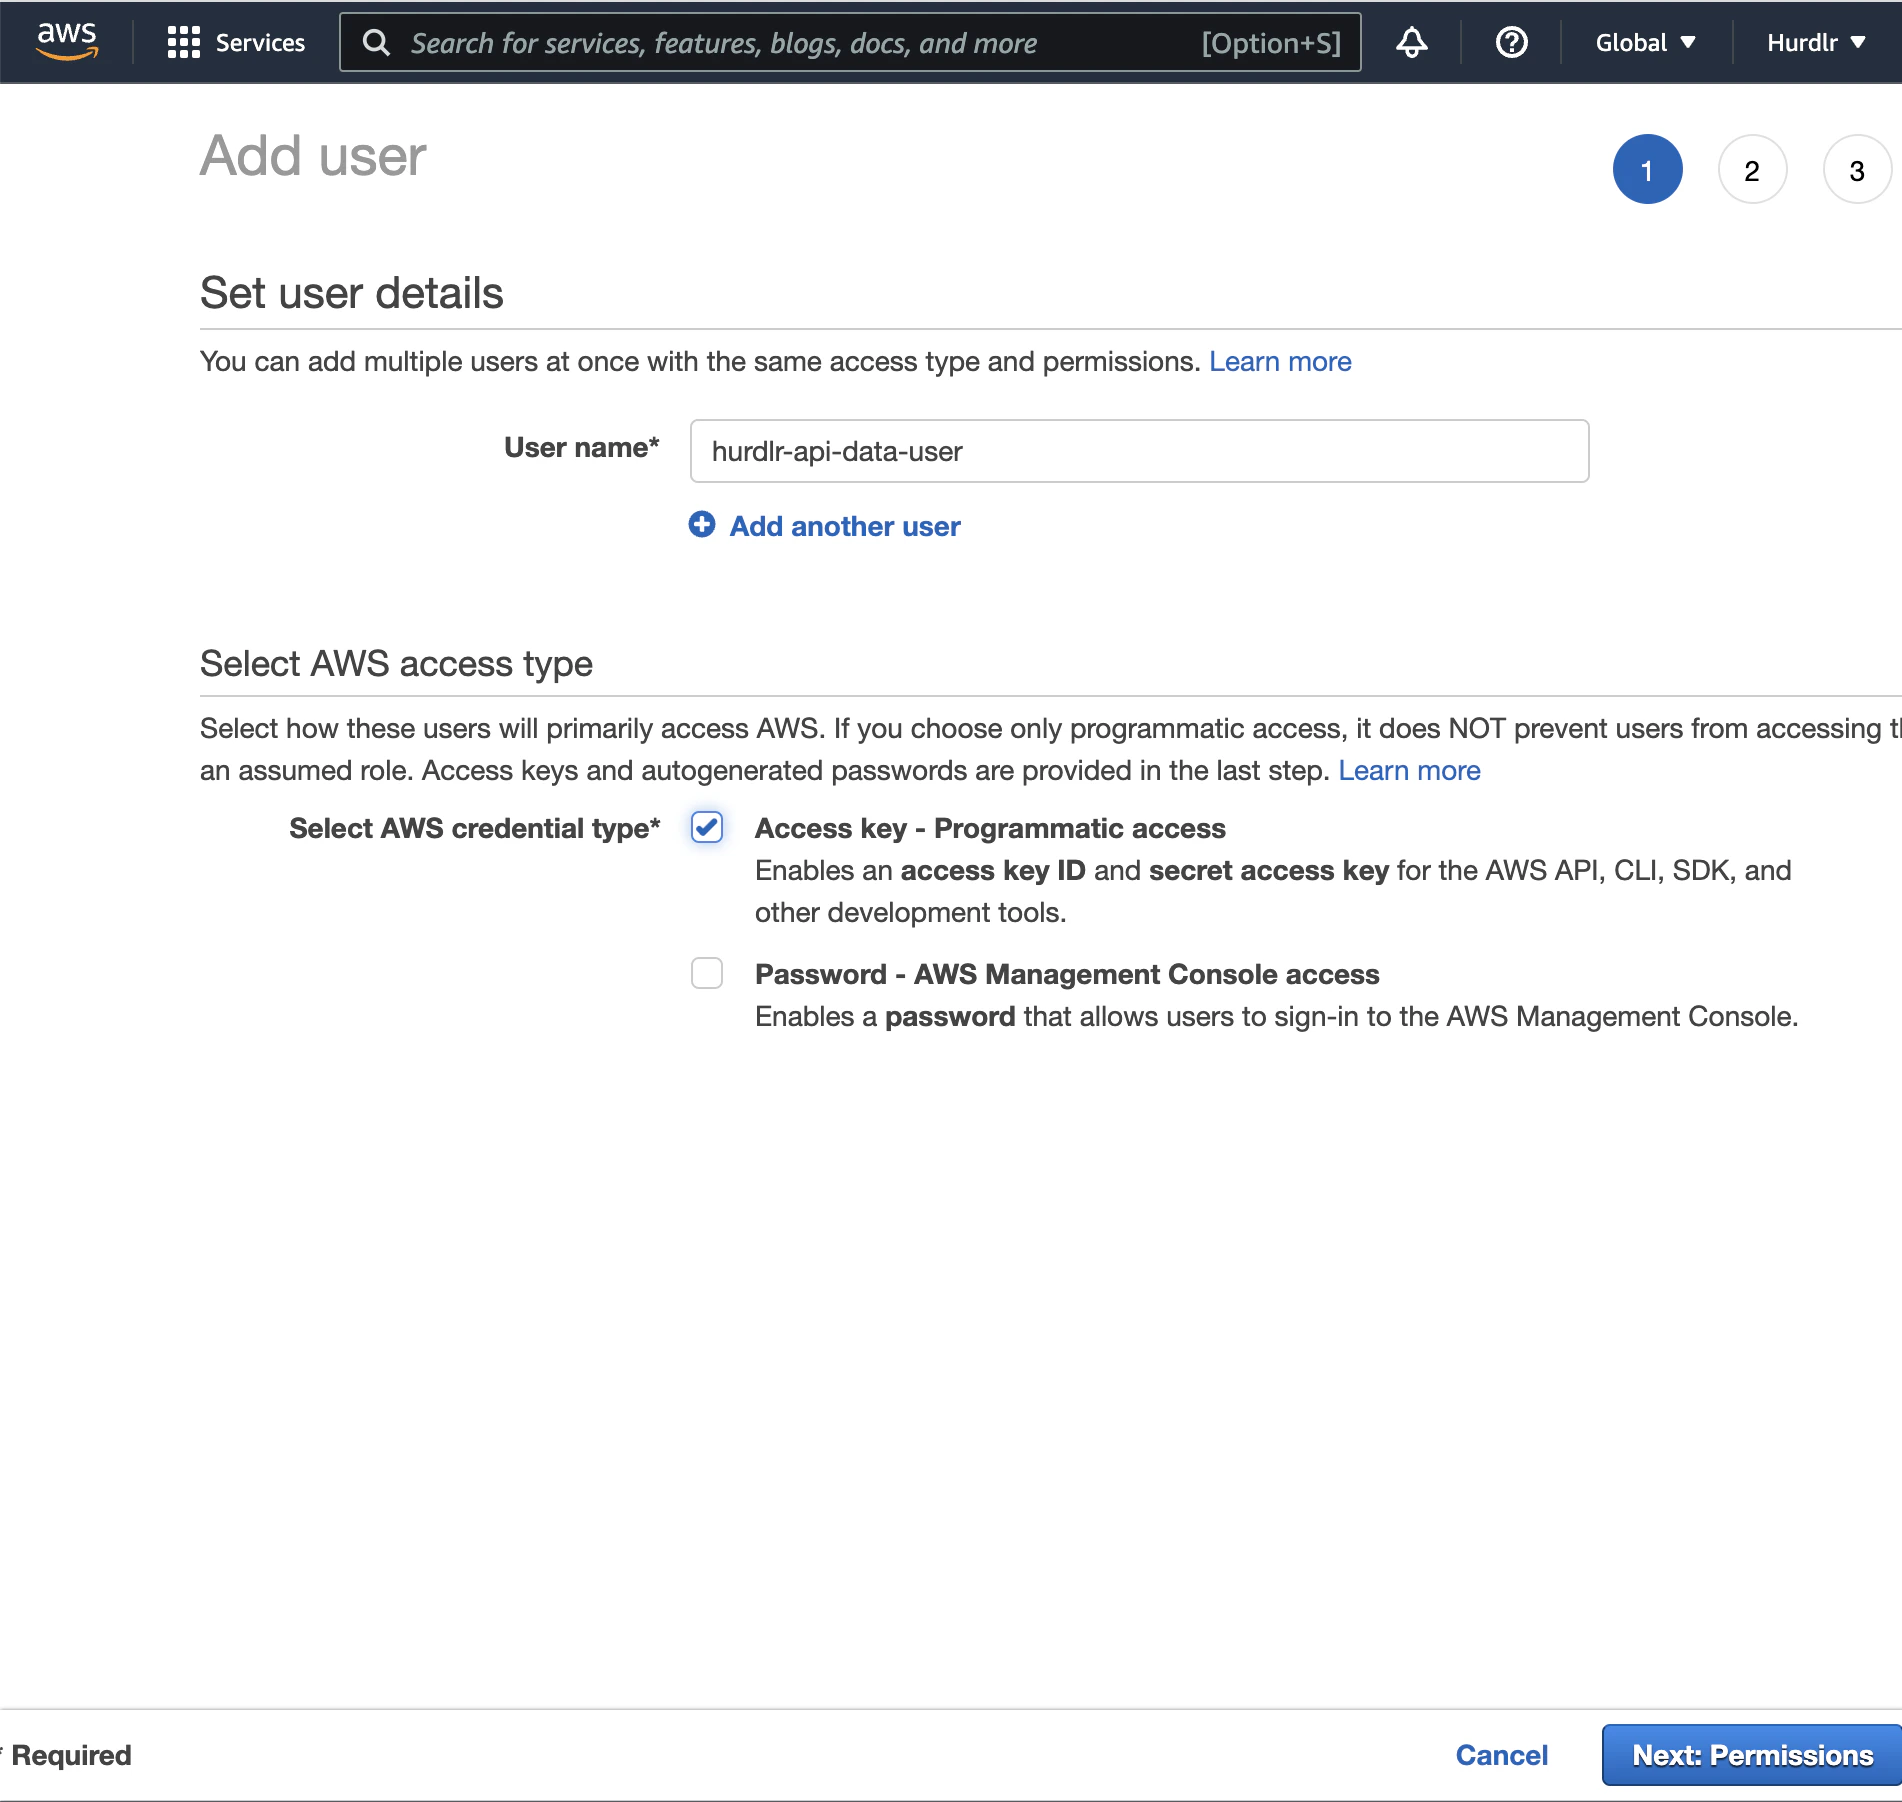
The first step on the "Add user" flow will ask you to input a `User name`, for which we recommend using "hurdlr-api-data-user".
Simply click "Create policy" and then you're done with this step.
## 3. Add an IAM user using the new policy
Next, you'll need to [add an IAM user](https://docs.aws.amazon.com/IAM/latest/UserGuide/id_users_create.html#id_users_create_console) using the new policy created in the prior step.
The first step on the "Add user" flow will ask you to input a `User name`, for which we recommend using "hurdlr-api-data-user".
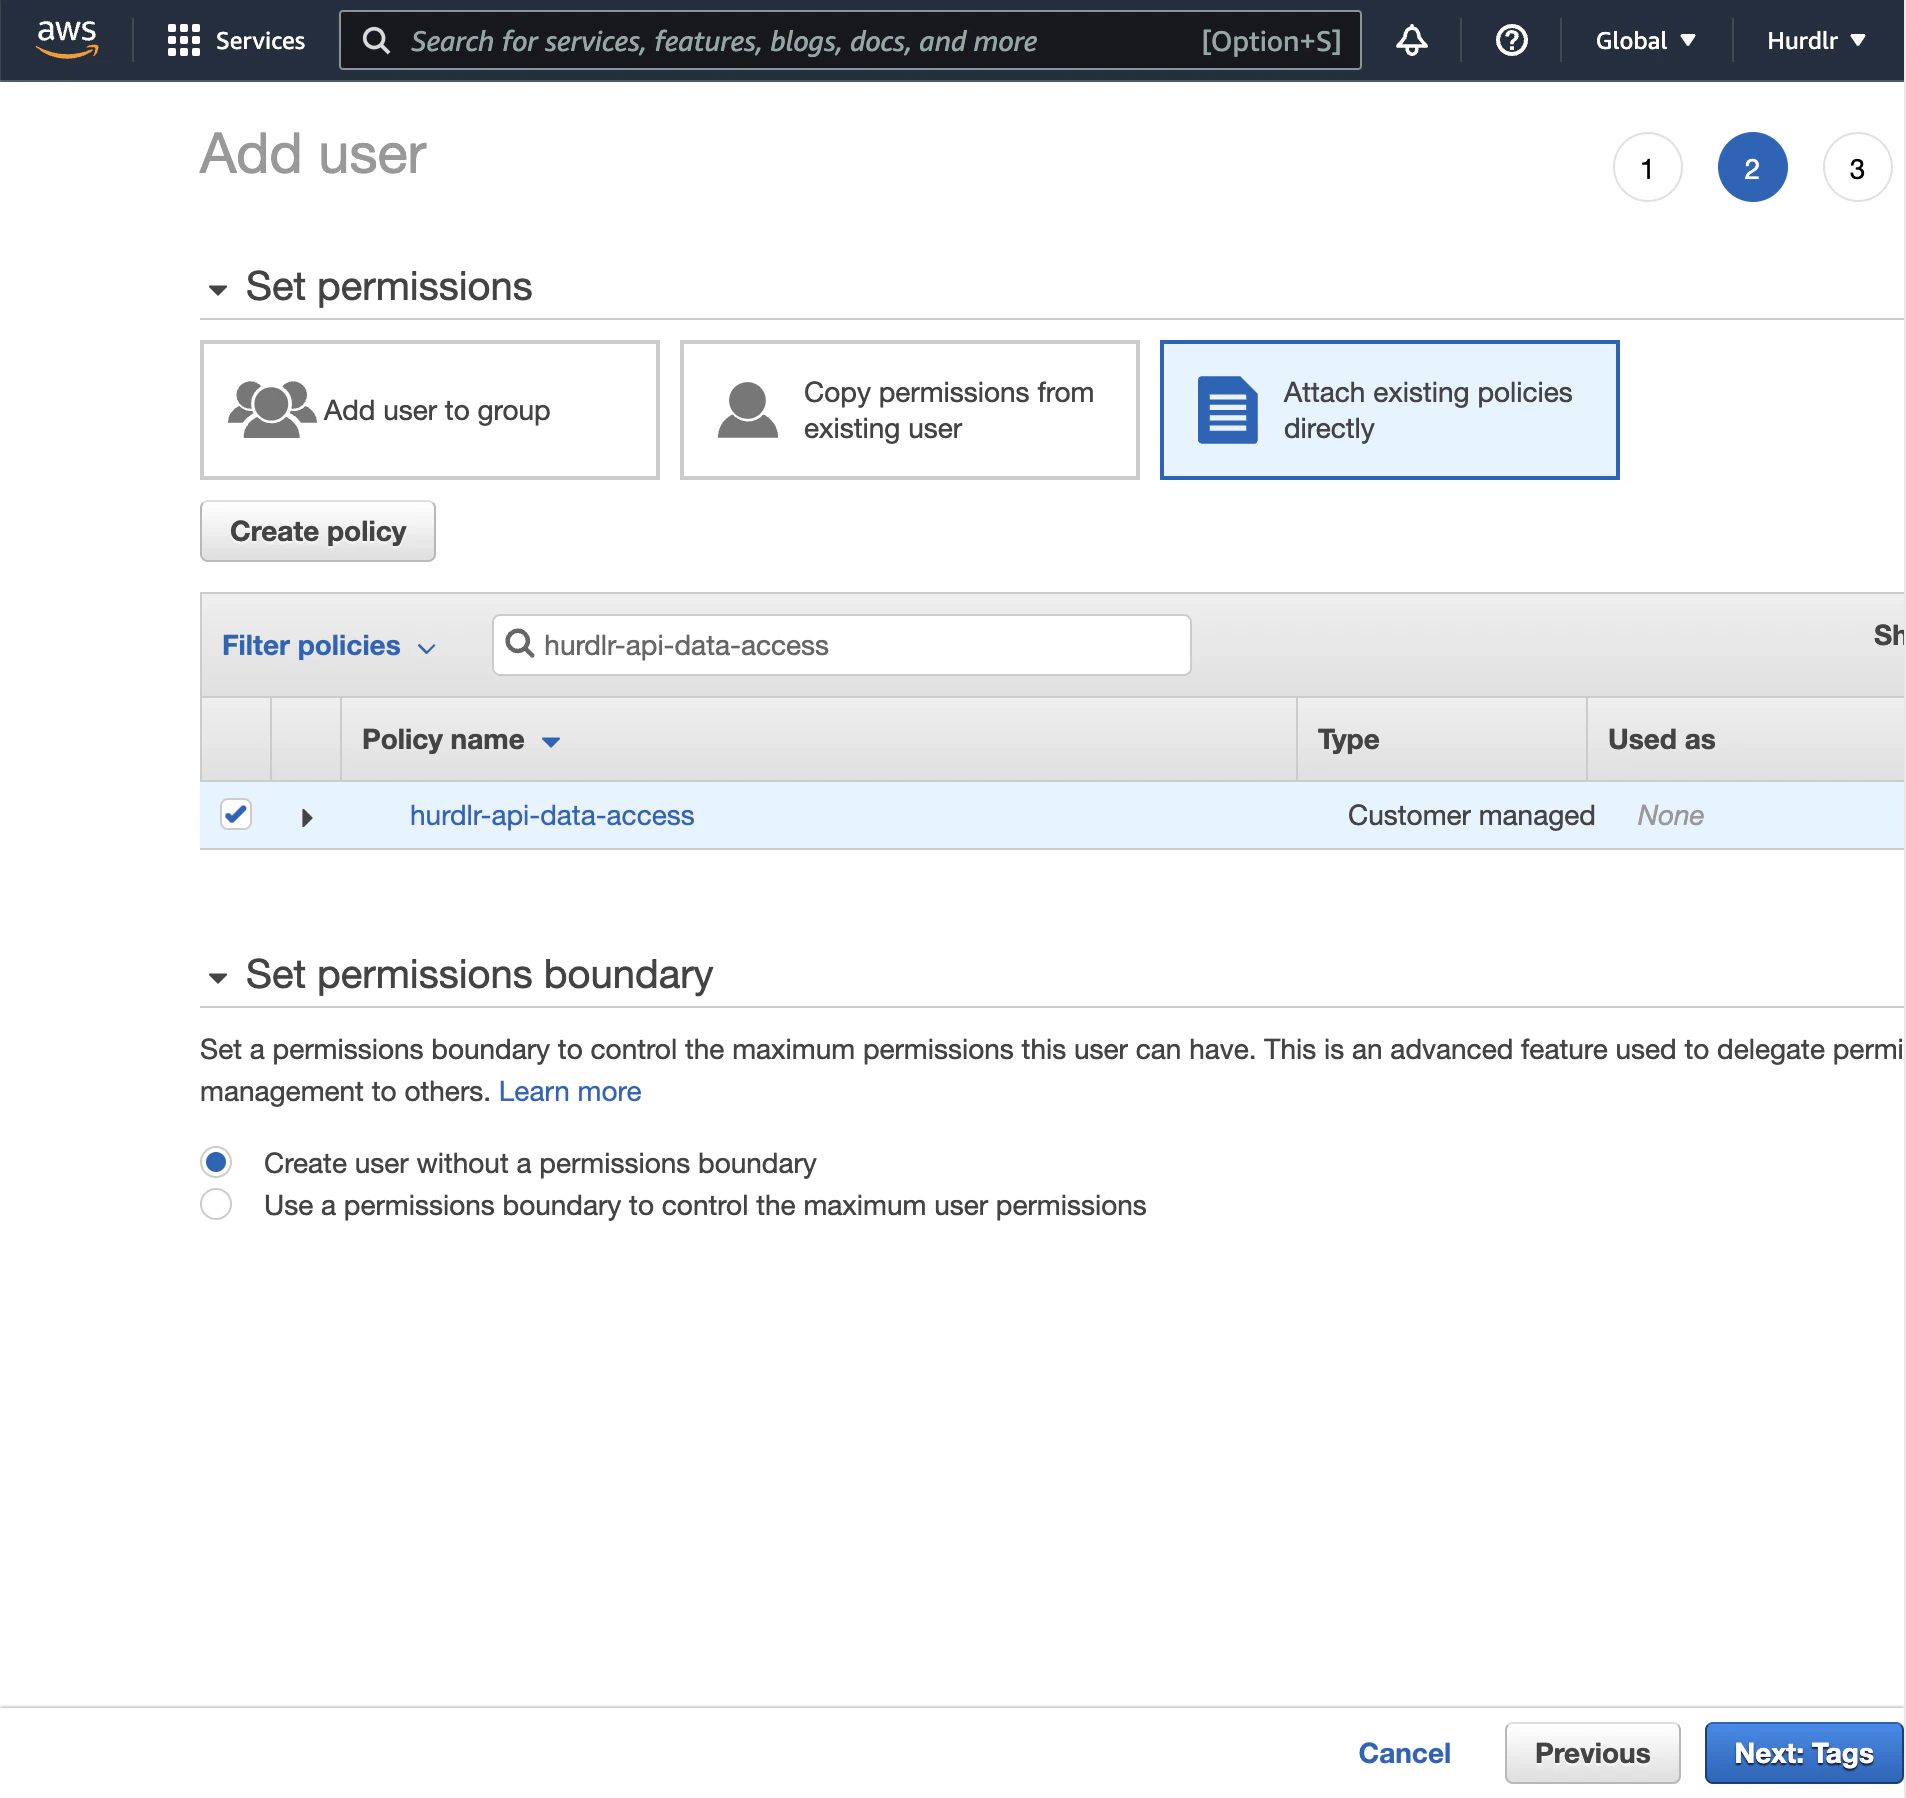
 The second step on the "Add user" flow give you a few options to set permissions. Select the "Attach existing policies directly" option. Then, simply search for "hurdlr-api-data-access" and select that:
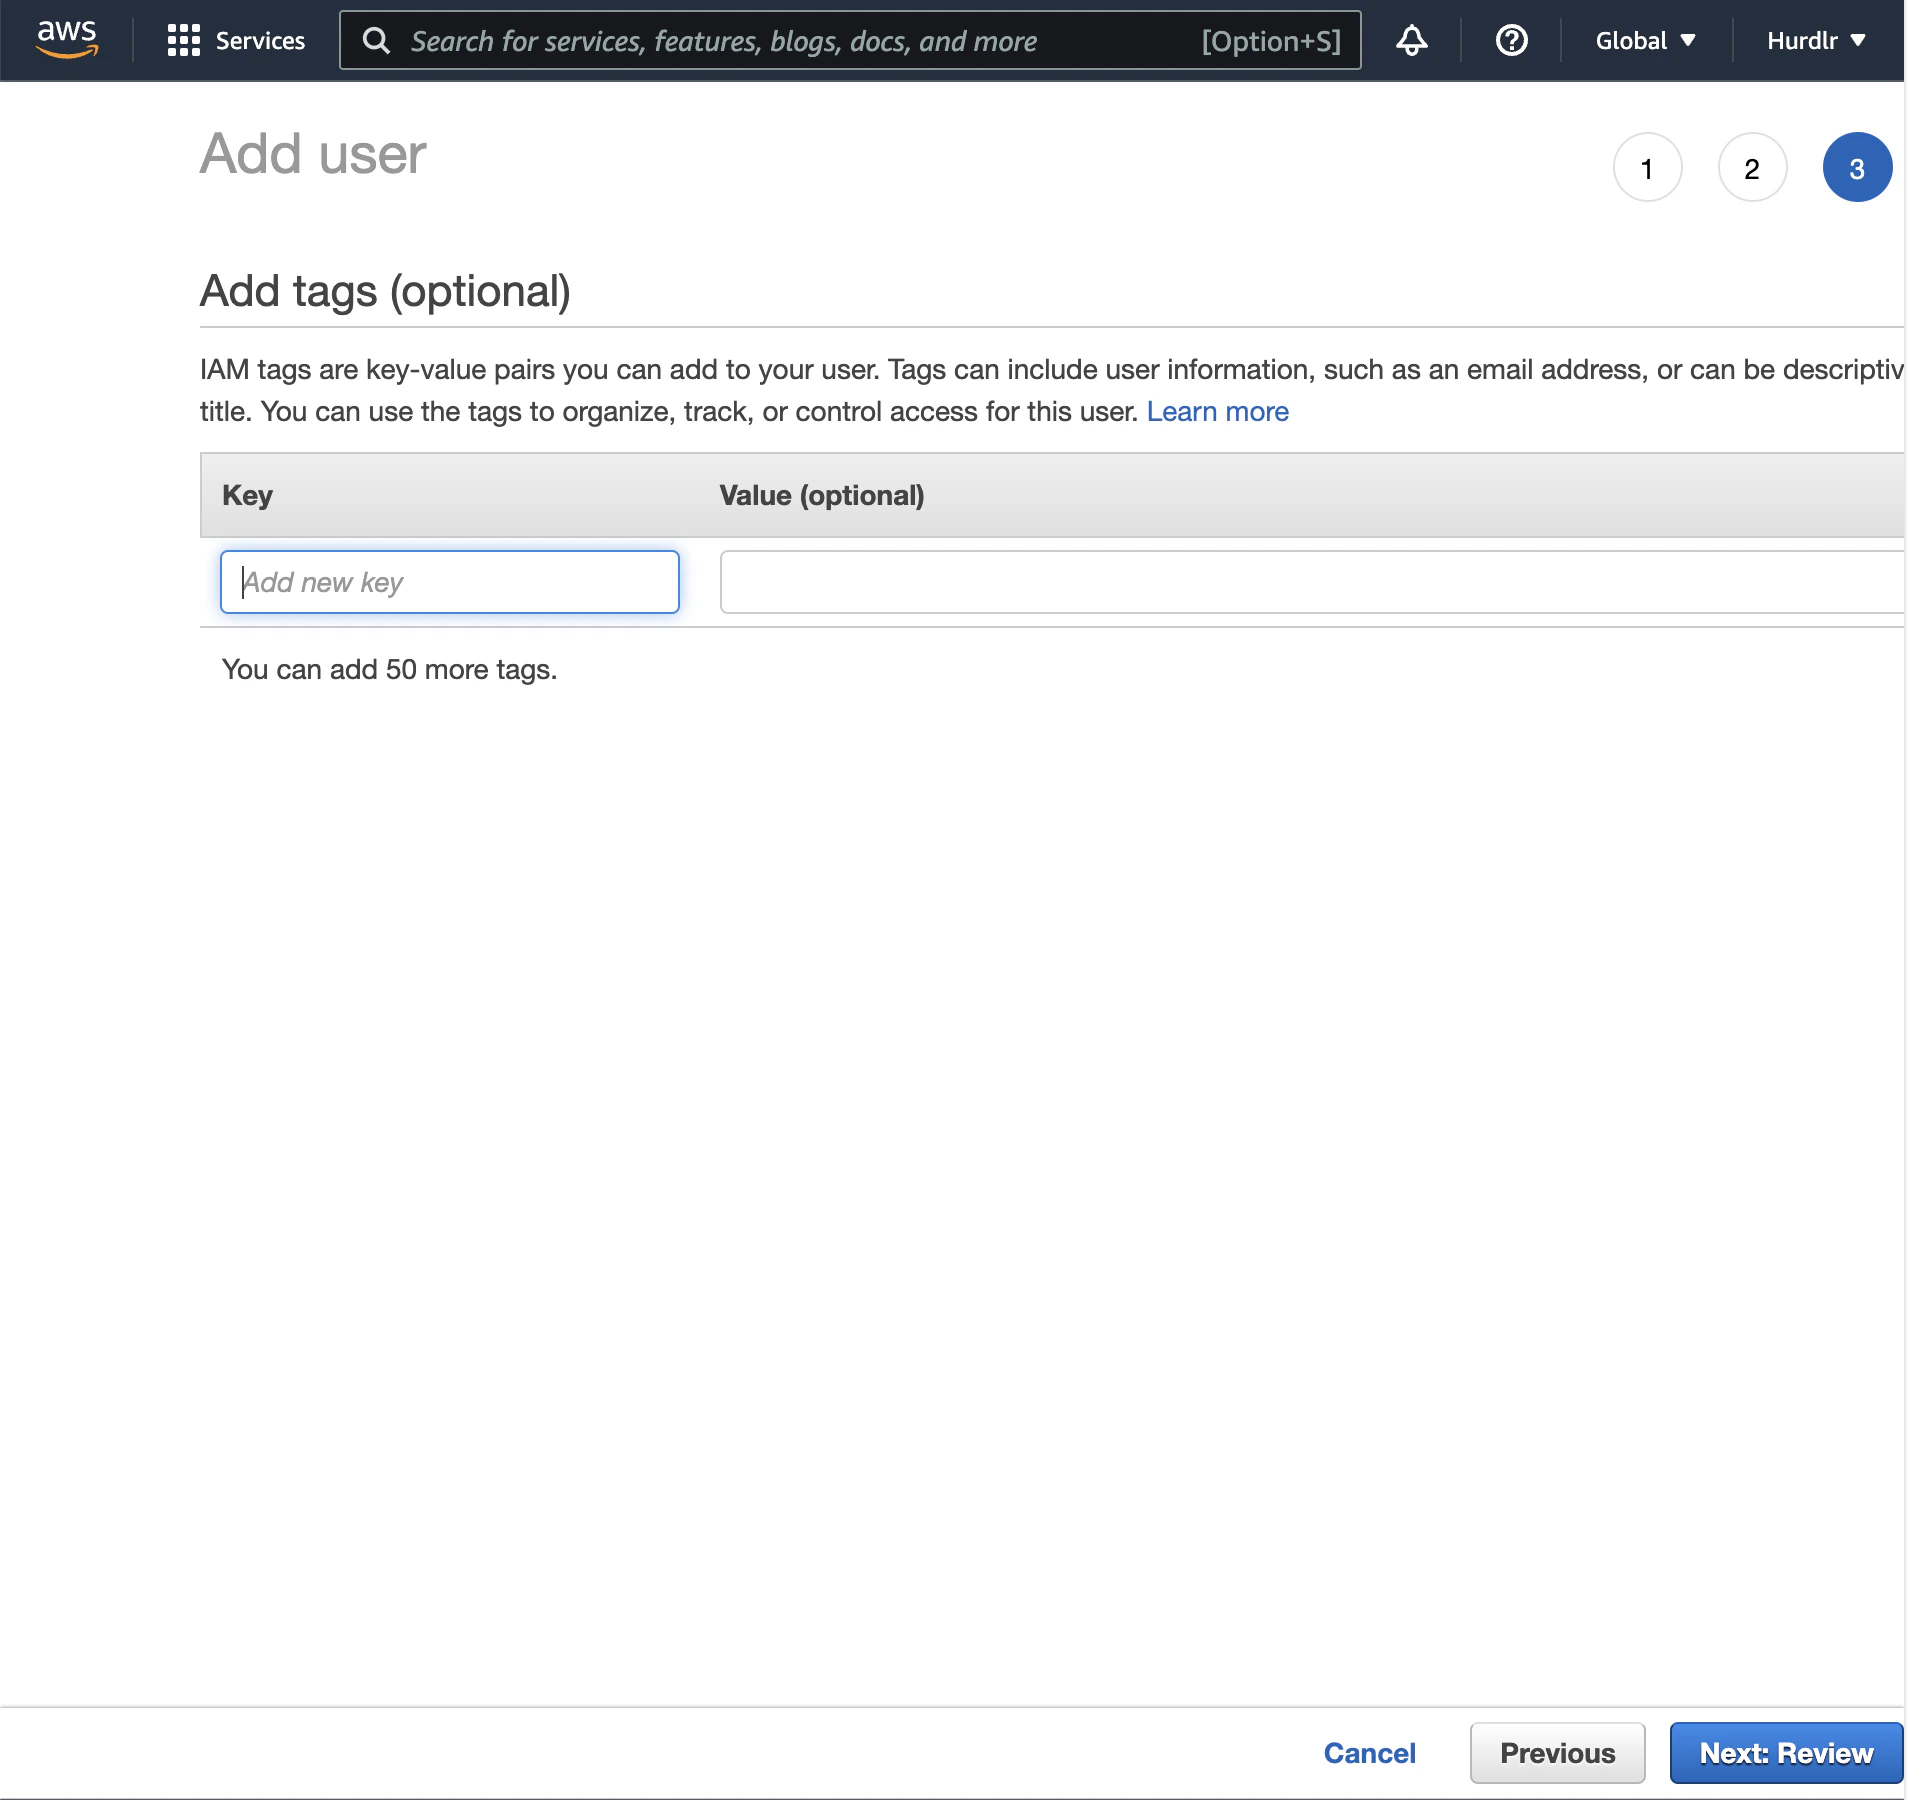
 The third step of the "Add user" flow simply entails clicking "Next: Review":
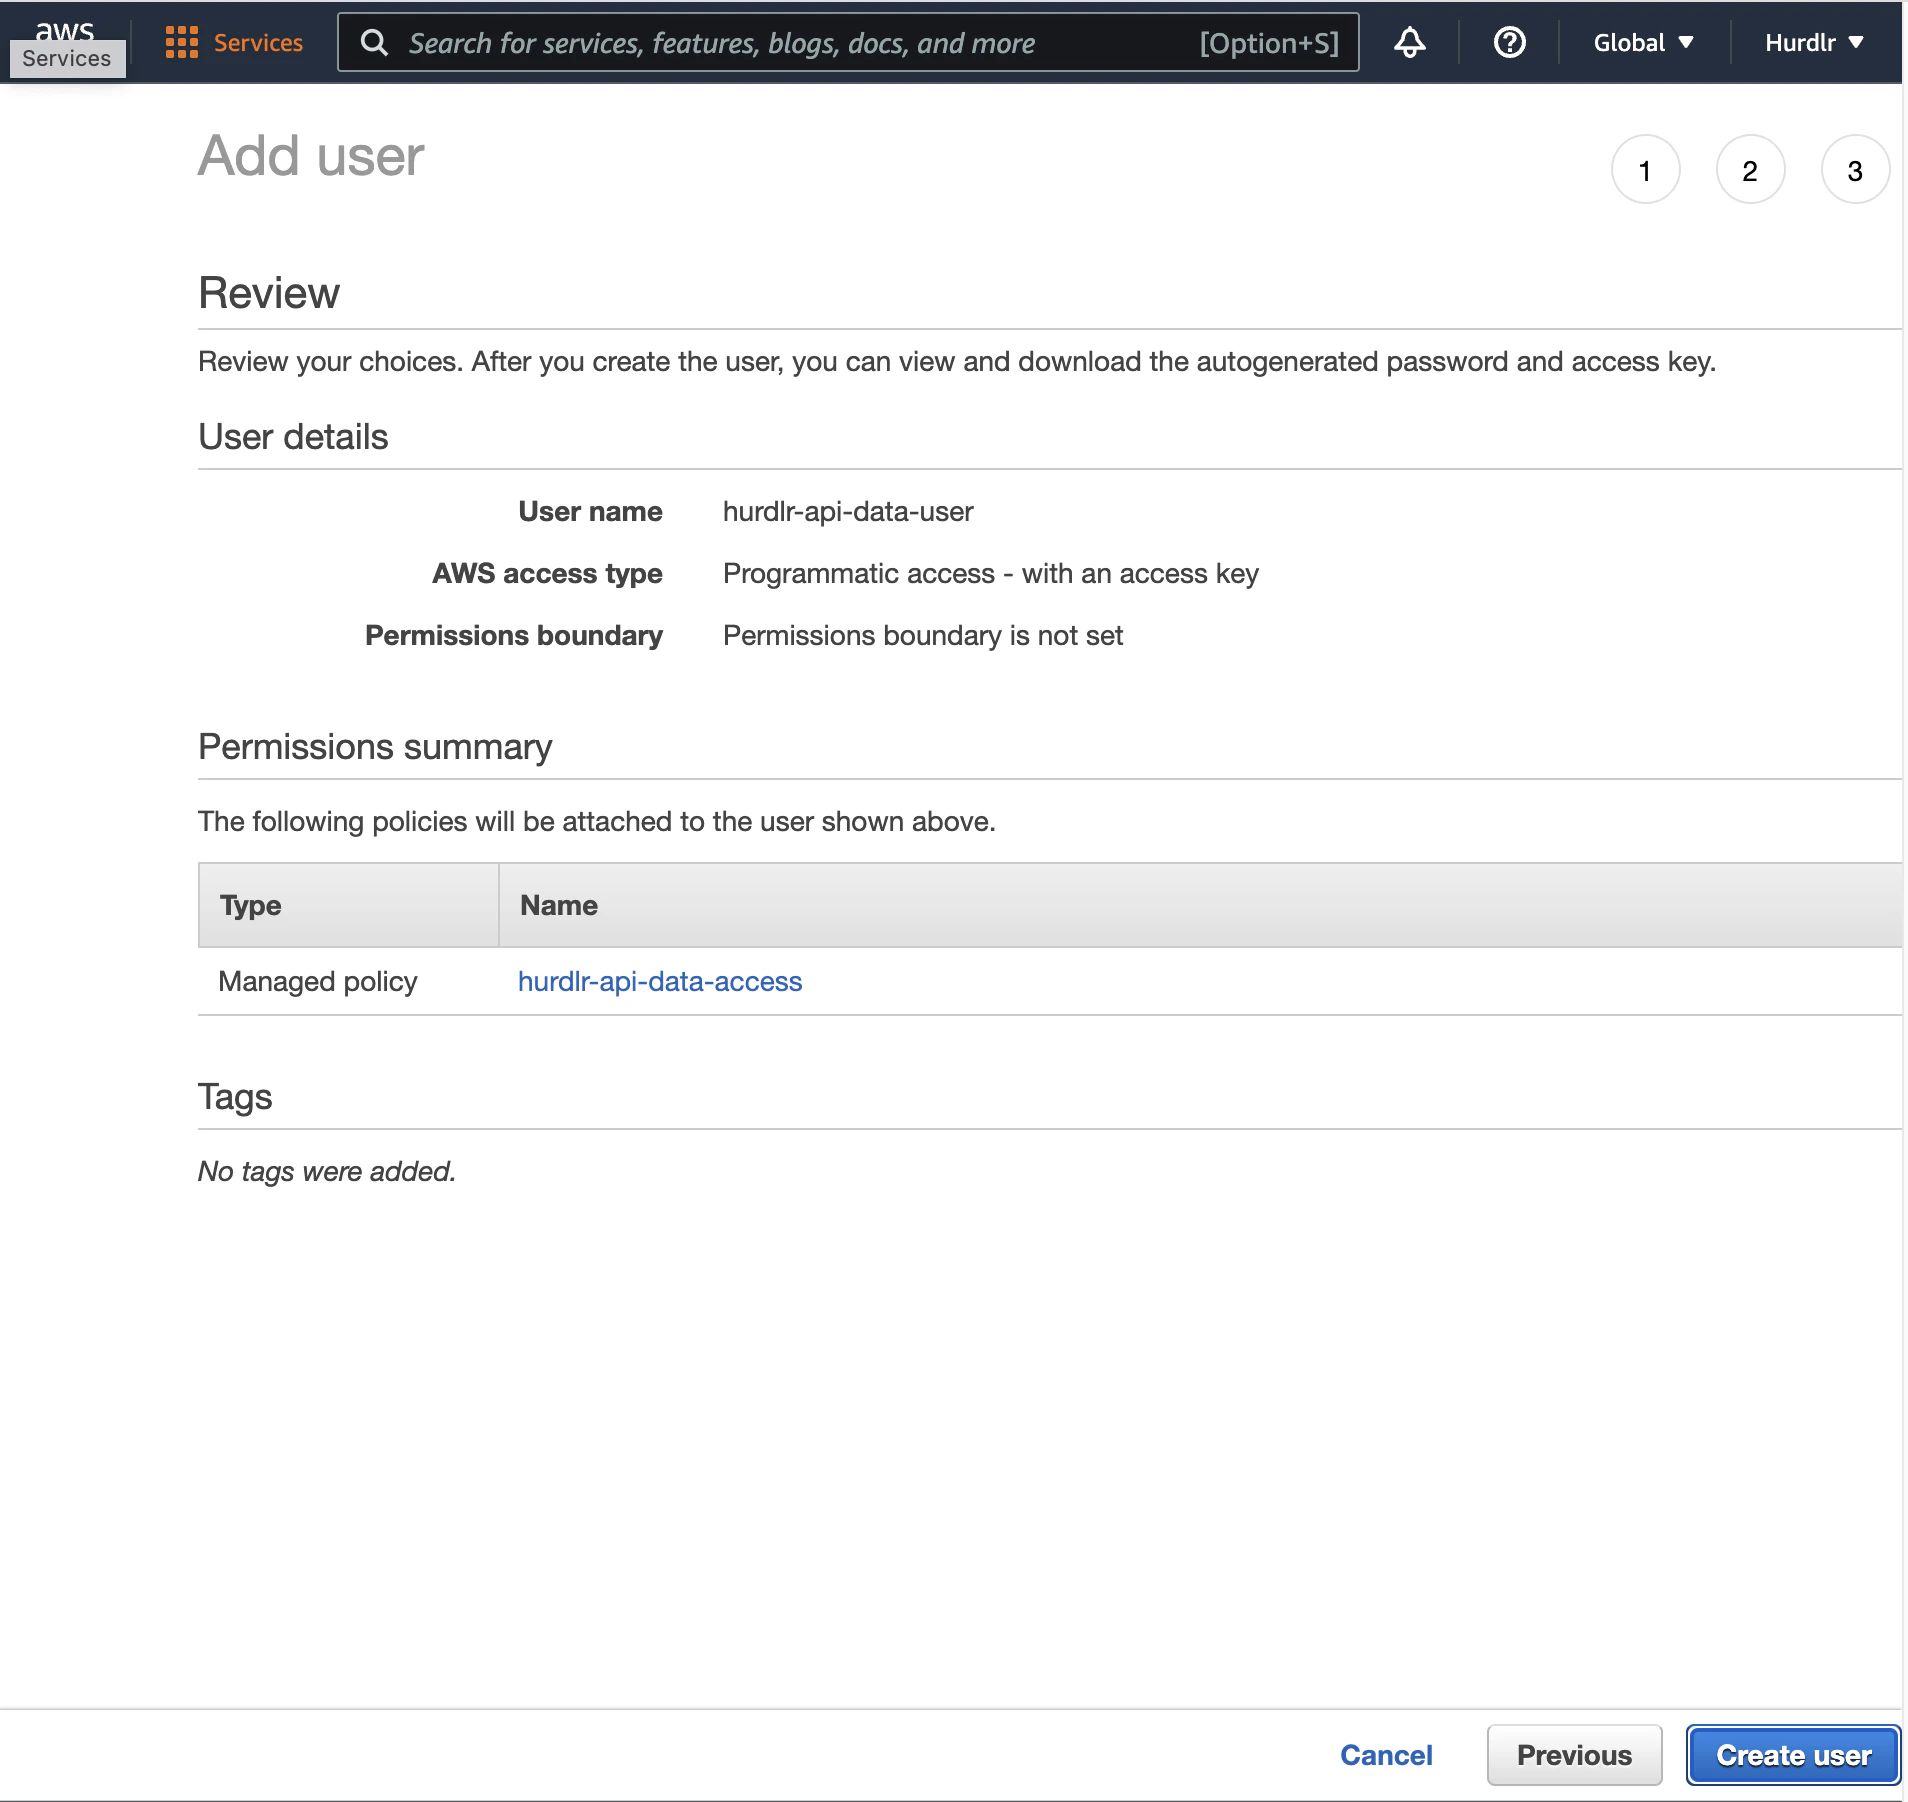
 On the "Review" step, you can simply click "Create user":
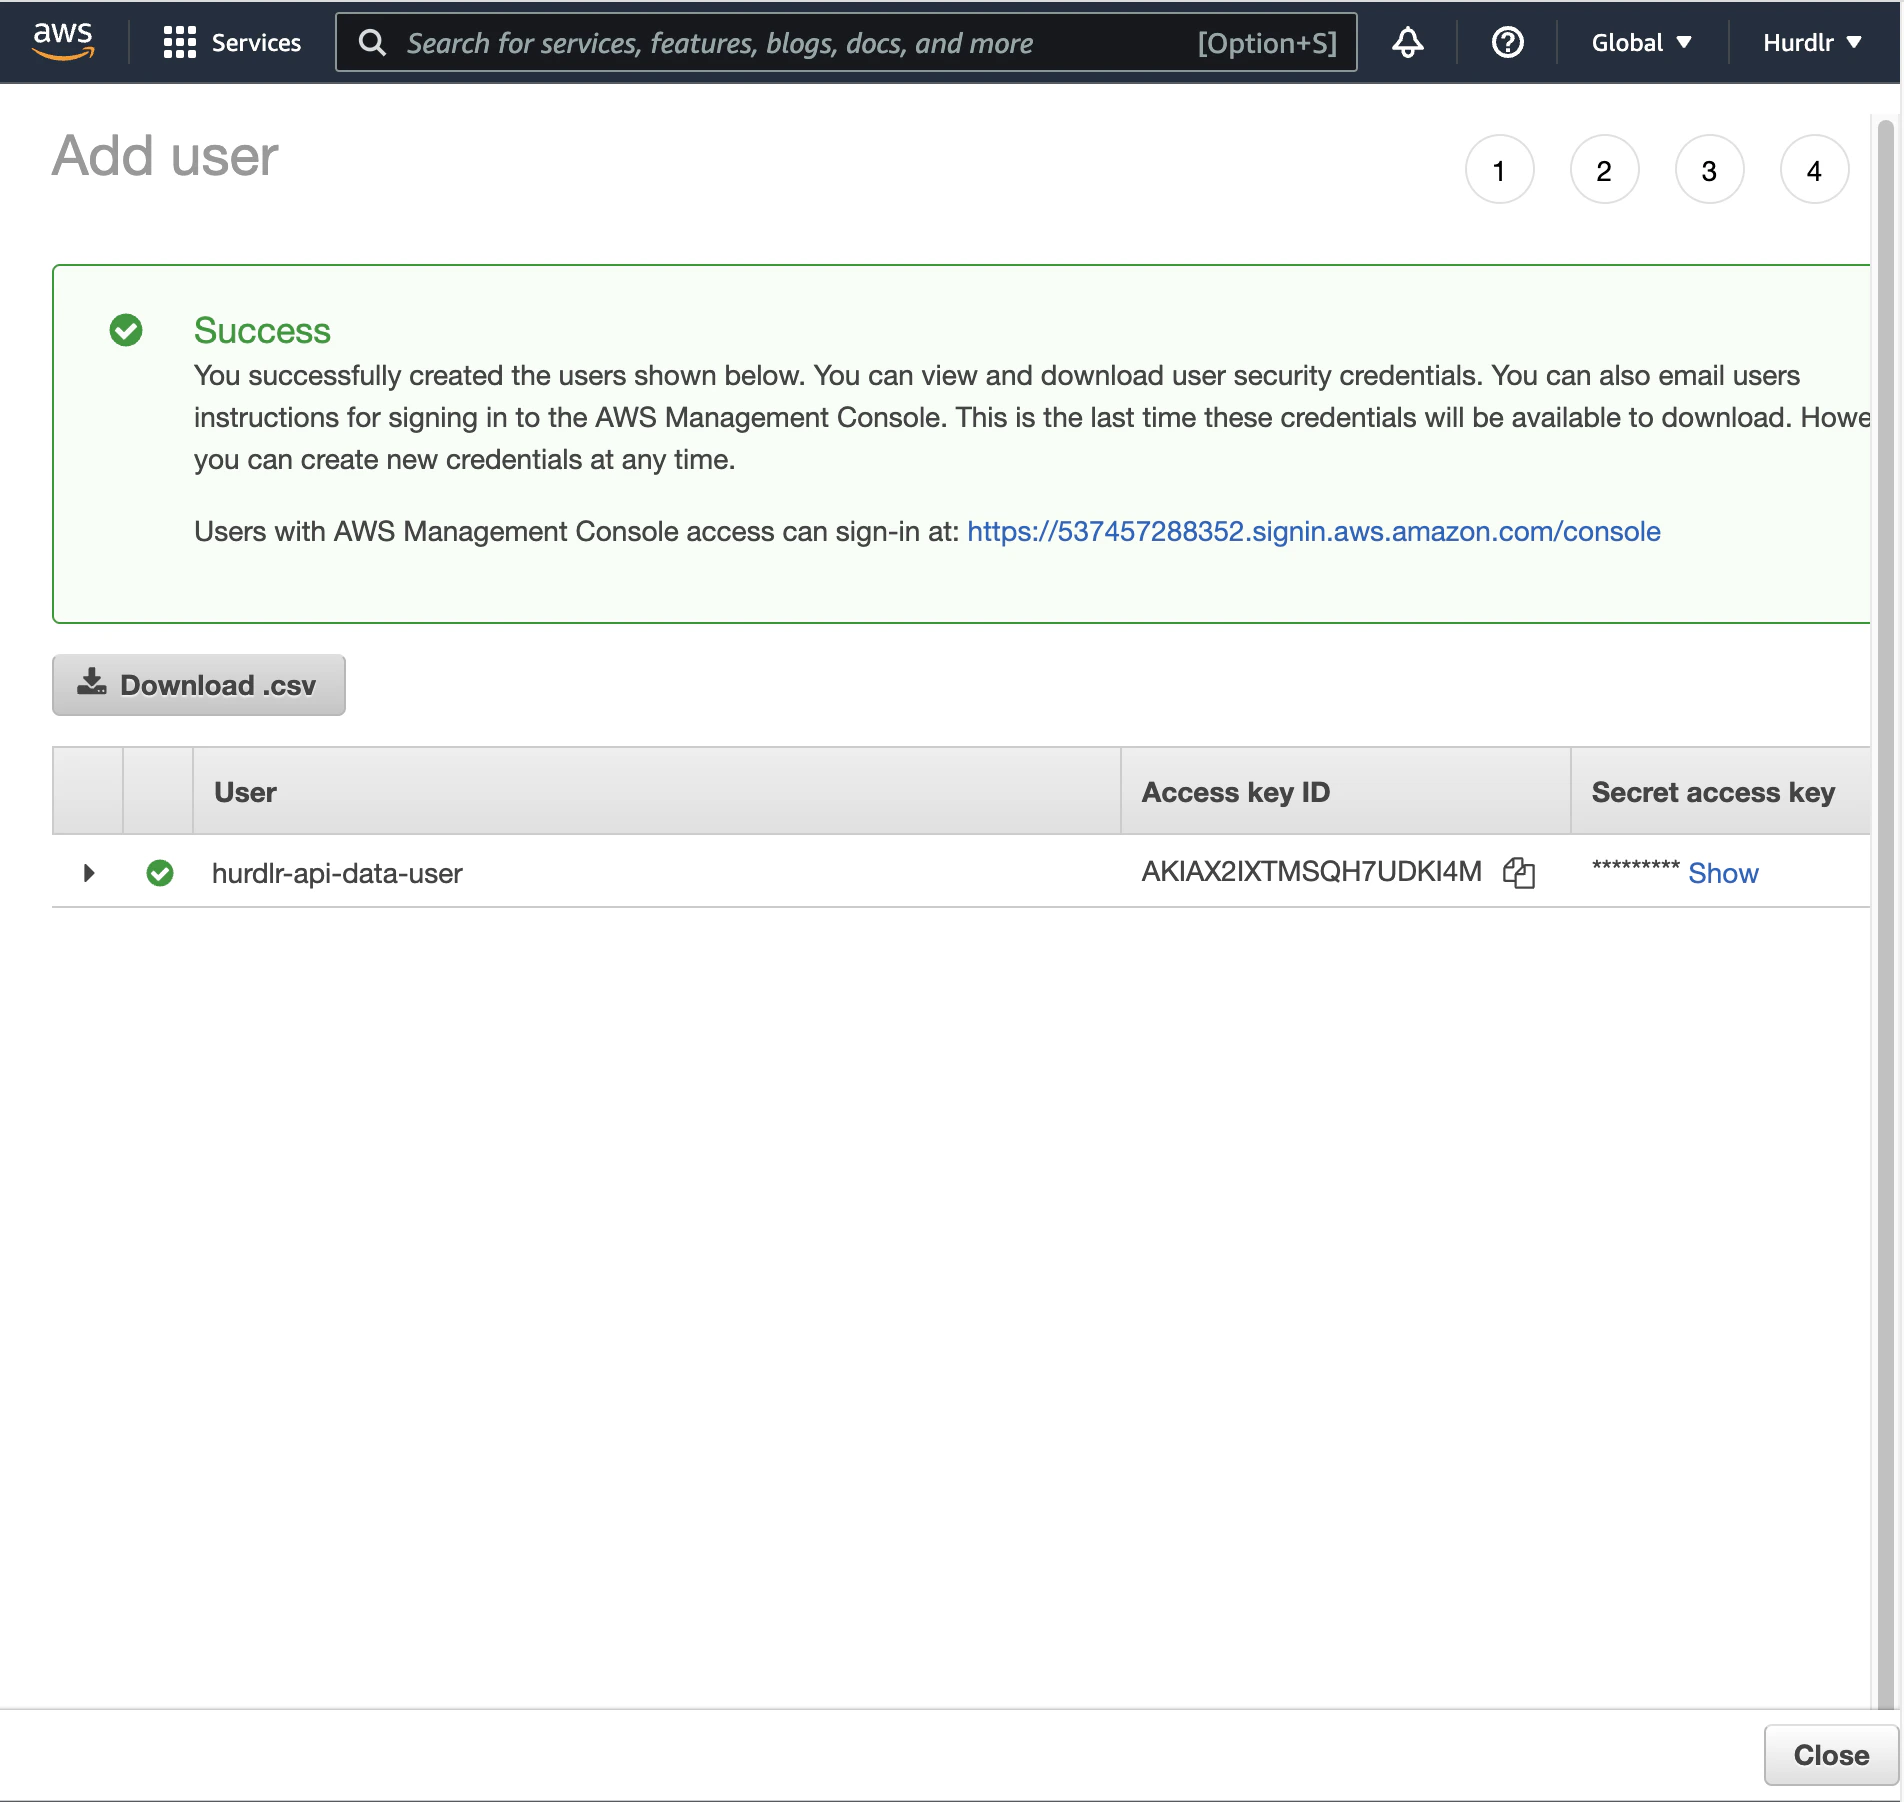
 On the final step of the "Add user" flow, you'll see the option to "Download .csv", which you will want to do:
 ## 4. Securely share access with Tight
Contact us directly at [api@tight.com](mailto:api@tight.com) for instructions on how to securely share:
A. the CSV that you generated at the end of [Step 3](/v5.0/products/data-lakes/amazon-s3#3-add-an-iam-user-using-the-new-policy)\
B. the AWS region from [Step 1](/v5.0/products/data-lakes/amazon-s3#1-create-a-bucket)
## 4. Securely share access with Tight
Contact us directly at [api@tight.com](mailto:api@tight.com) for instructions on how to securely share:
A. the CSV that you generated at the end of [Step 3](/v5.0/products/data-lakes/amazon-s3#3-add-an-iam-user-using-the-new-policy)\
B. the AWS region from [Step 1](/v5.0/products/data-lakes/amazon-s3#1-create-a-bucket)